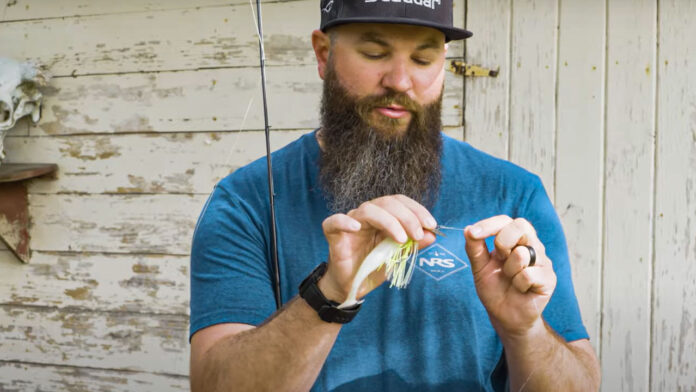
Today I want to share some quick tips on how to tie and when to use the improved clinch knot
It’s one of my favorite knots because it gives me tons of confidence when I need to attach a monofilament or fluorocarbon line directly to a hook or lure. However, I don't like the improved clinch knot when I'm tying a braided line directly to a hook or a lure because it can slip if you don’t put enough wraps in it.
Let’s get started.
Demonstration with Cordage and Eye Bolt
In the first demonstration, I’ll use an eye bolt to represent a hook or lure, and a piece of cordage to represent the line.
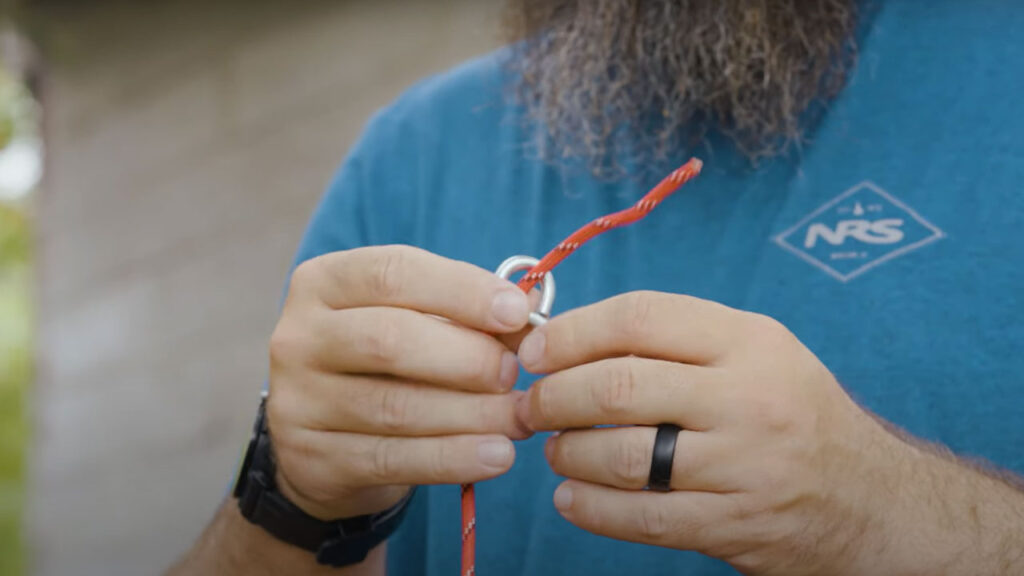
Step 1
I’ll start by feeding the line through the eye bolt. It’s important to leave some extra on the tag end for the next step.
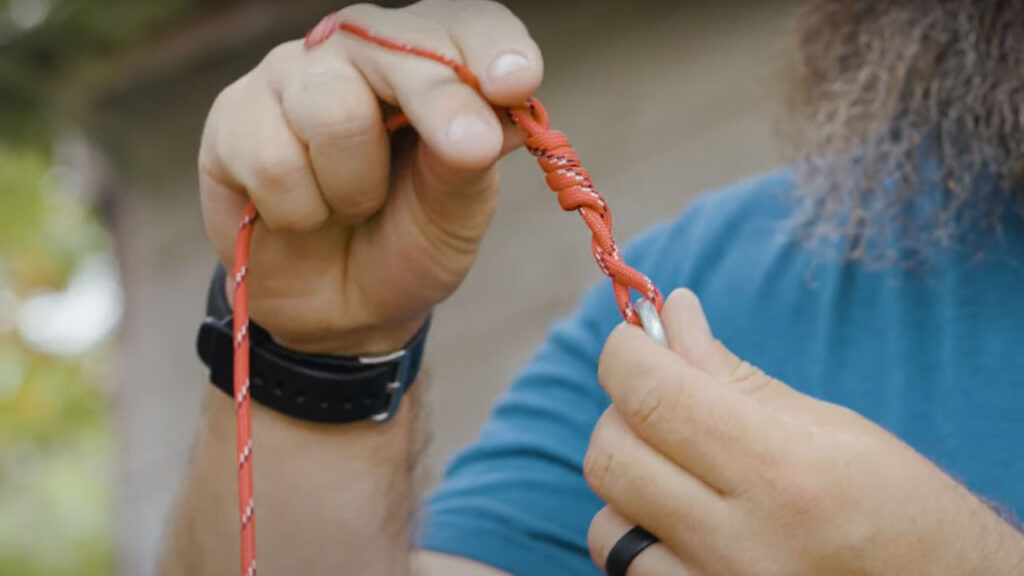
Step 2
Now I’ll wrap the tag end around the main line five times. You can also do this by holding both lines together and twisting the eye bolt.
I generally just wrap the tag end around the main line, but either way works. Now there’s a gap or a loop where the line connects to the eye bolt.
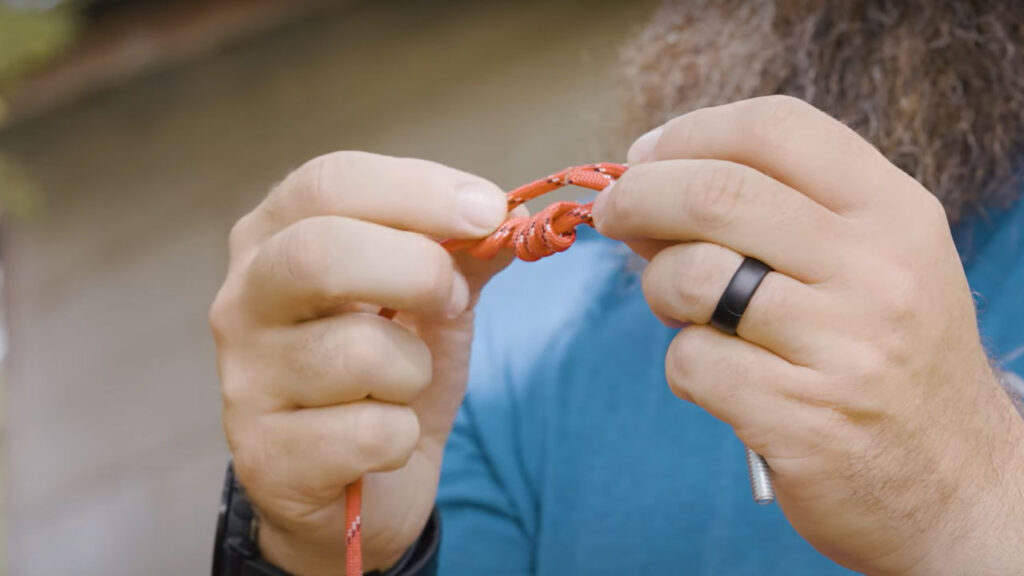
Step 3
Next, I’ll feed the tag end back through that loop. If you cinch it down at this point you’ll have a standard clinch knot, but there’s another step for the improved version.
Step 4
Take the tag end and pass it back through the big loop you've just created. This extra step helps a lot when you're using lighter or slicker lines that tend to slip.
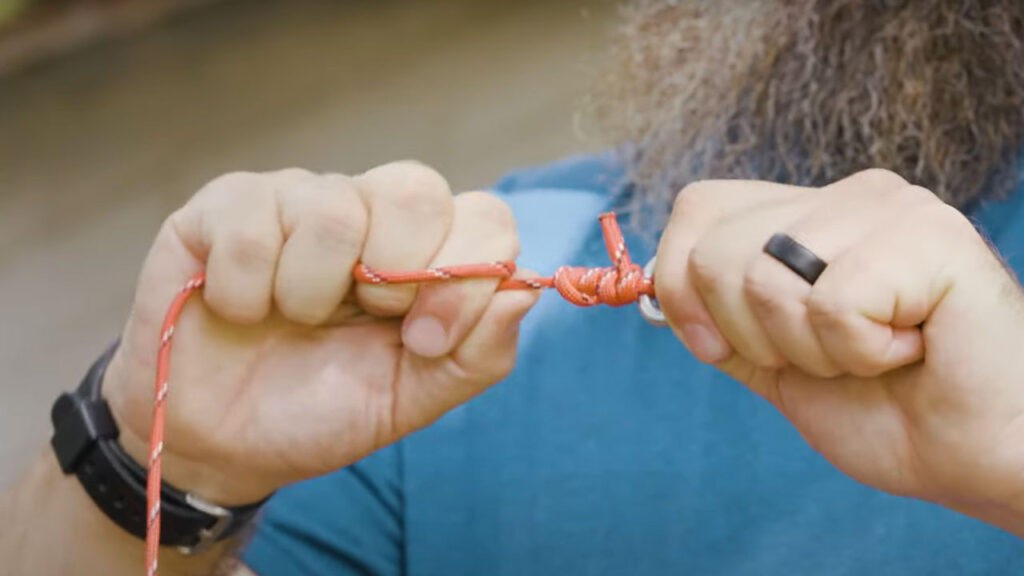
Step 5
Now I'll hold the main line in one hand and the eyebolt in the other and cinch everything down nice and tight. You may want to moisten this with your mouth a little to help everything slide more easily. You can also give the tag end a tug to make sure everything is super snug.
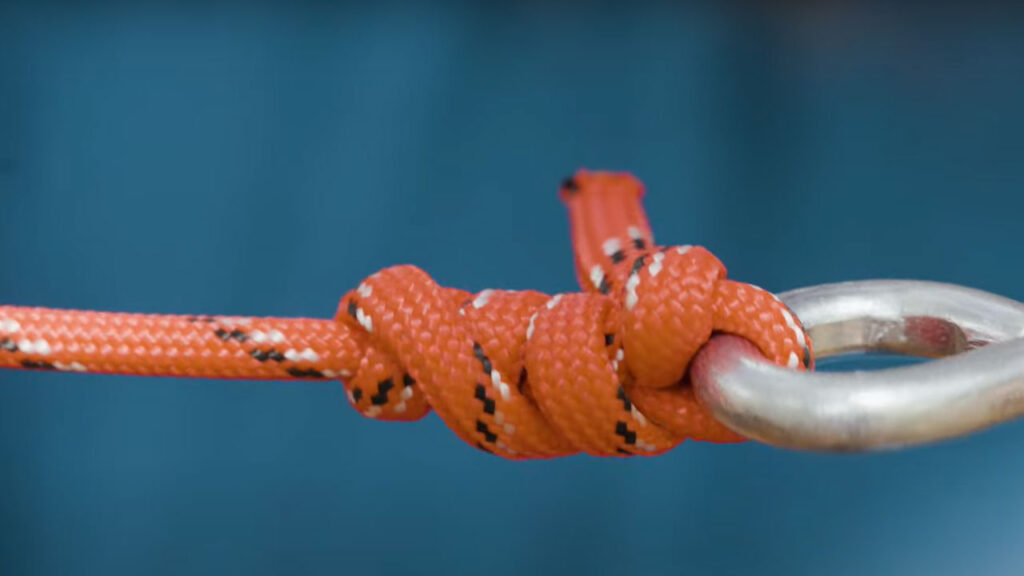
Step 6
Now I'll trim off the tag end leaving a little sticking out. The tag end doesn’t need to be too short.
If you’re using a heavier fluorocarbon leader you can get away with just using the clinch knot a lot of the time. But I like the improved clinch knot with fluorocarbon and monofilament lines up to about 40 pounds because it gives me extra confidence.
Improved Clinch Knot Recap
This is my go-to knot for tying pretty much any monofilament or fluorocarbon line to a bait or a hook.
I don't like the improved clinch knot when I'm attaching a braid directly to a hook or a lure because it can tend to slip if you don't put enough wraps in it.
If you get to know this one, its a first step towards Mastering the Double Uni knot, check that post out too!

Braid: Seaguar Smackdown Flash Green
Leader: Seaguar Gold Label Fluorocarbon Leader
Clothing: NRS Silkweight T-shirt


