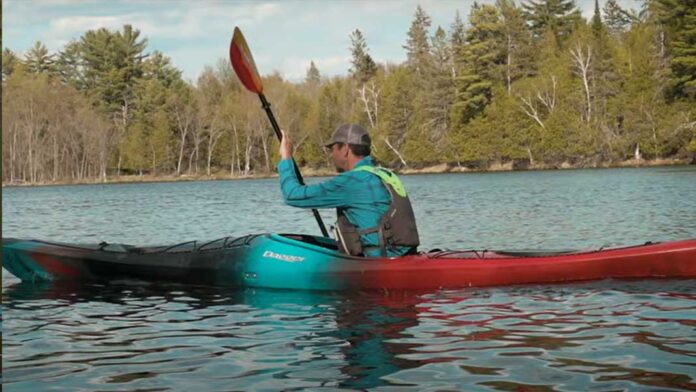
Learning to kayak is a fairly intuitive activity for many people. You don't need a ton of instruction if you're just going to play around on a calm lake or river. Instruction does help when you are learning to kayak.
You'll be able to paddle much more powerfully, efficiently, and you'll have a lot more control of your kayak by learning 3 kayak strokes. I'm going to cover the 3 essential kayak strokes that will turn you into a pro kayaker in no time. First, let's go through a few reminders about how to hold your paddle, and what constitutes good paddling posture.
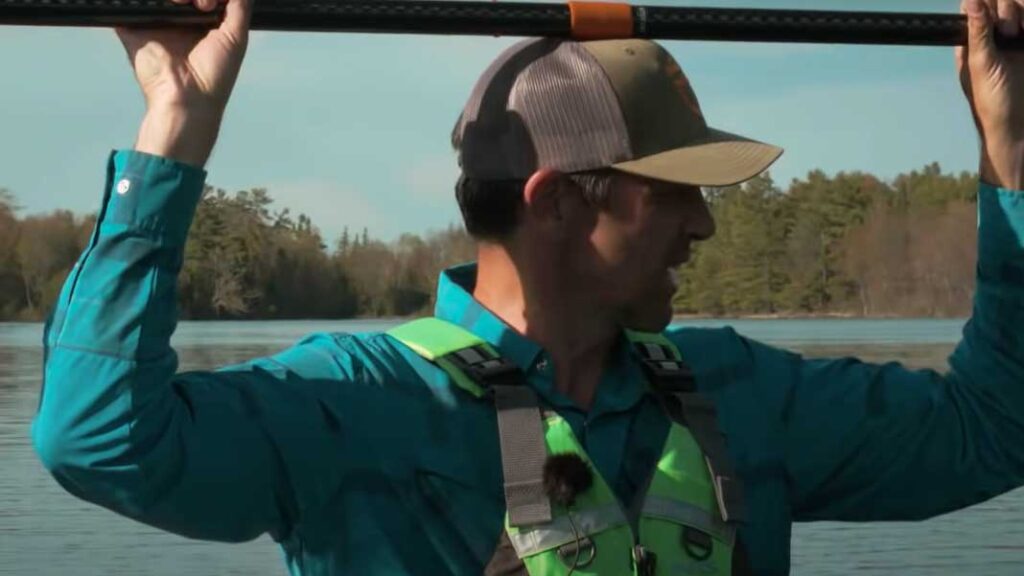
What is the correct way to hold a kayak paddle?
Your grip should be slightly wider than shoulder width, with each hand equidistant from the corresponding blade. Raise your arms up in faux-celebration, resting the paddle on your head, to help see if you're positioned correctly. Here, you should have a 90 degree angle bend at your elbows. If not, adjust accordingly.
How should I grip my paddle while kayaking?
The grip on your paddle should be nice and relaxed. No death grips! If you overdo it, your arms will get tired in the short-term. You could develop tendonitis in the long-term, and all the while you'll be plagued by blisters. So take a breath, remember what that yoga-friend taught you about Zen, and just enjoy the experience as you learn to kayak.
What are the rings on a kayak paddle for?
The rings on kayak paddles are called drip rings. They prevent the water that comes off the blade from dripping down the shaft and up your arm. This sure gets annoying after a while and can leave you with a case of the shivers. Oftentimes, I'll see newer paddlers reposition these to act as a marker for their hand placement. They should actually sit much closer to the blade, but not so close that they dip into the water themselves, which will negate the effect. I recommend about a hand-width between your blade and the ring.
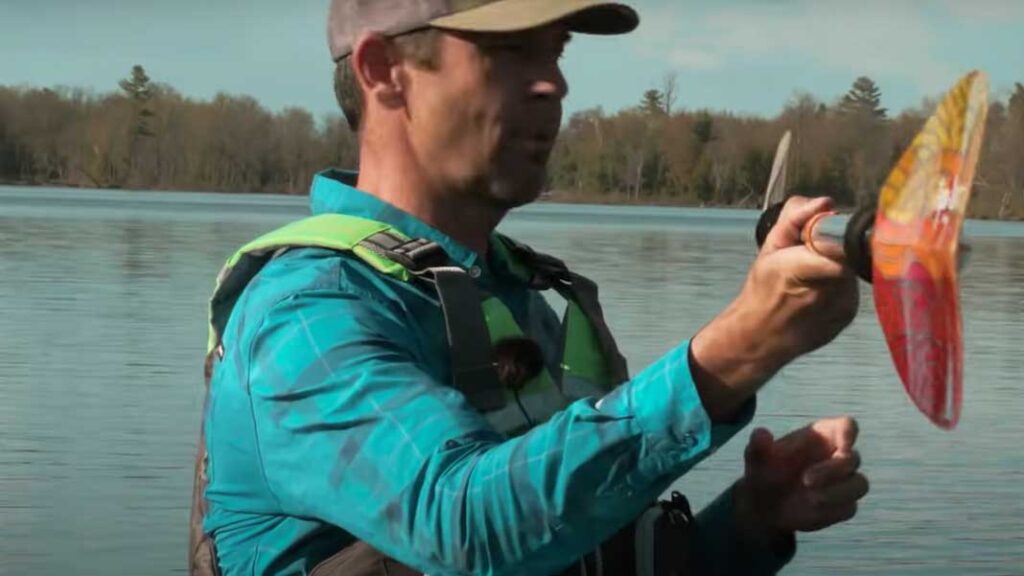
Why are kayaking paddles angled?
Some paddles can be set to a certain “twist” or “feather.” Both of these terms refer to the offset, or angle of the paddle blades relative to one another. This is done so that while one blade is in the water, the other slices through the air with the narrow side of the blade, rather than the full, flat fin.
If you're battling the wind, or racing another boat and need to claw for those fractions of a second, then this can be an effective strategy. However, if you're just getting started, I think it's best to leave your paddle at a zero-offset. The offset is also referred to as the kayak paddle angle, twist, or feather.
I actually use a zero-offset paddle myself. About 30 years ago, when I was just learning to kayak, I initially had a 90-degree twist. Eventually I backed it off to a 60, and then a 30, 15, and finally I ditched it altogether. I'll be discussing each paddle stroke from a zero-offset point of view.
What is the correct posture in kayaking?
In order to assume an active paddling position, you'll want to sit up straight. Next, press the balls of your feet against the kayak's foot pegs/braces. You will have a slight bend in your knees that will give you more power with each stroke (if you are fitted properly for your leg length).
Check that your legs are splayed out. I know that many recreational kayaks have comfortable, high-back seats that are great for lounging, but I'm sorry to say that you have to pull yourself out of that relaxed posture when it's go-time.
Learn to Kayak with 3 Basic Strokes
The 3 basic strokes that every beginner kayaker should focus on are the forward stroke, the sweep stroke, and the draw stroke. By developing these techniques when you learn to kayak, you'll quickly become a more confident and proficient paddler.
Breaking down the Forward Stroke
On a basic level, any stroke that propels the kayak forward counts as you learn to kayak! However, by developing a proficient forward stroke, you'll be able to paddle a lot further, and with less wasted energy.
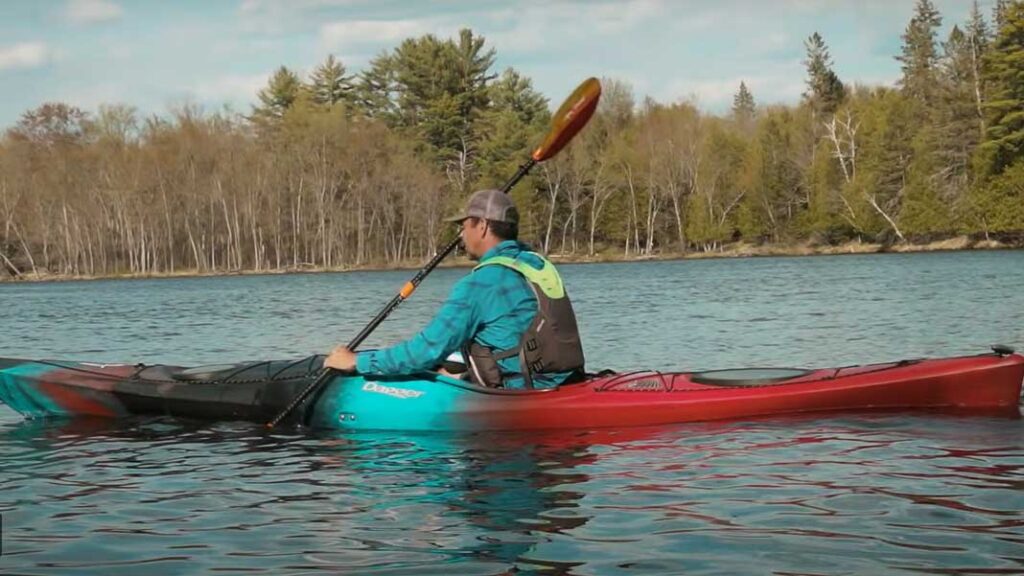
Catch Phase of the Forward Stroke
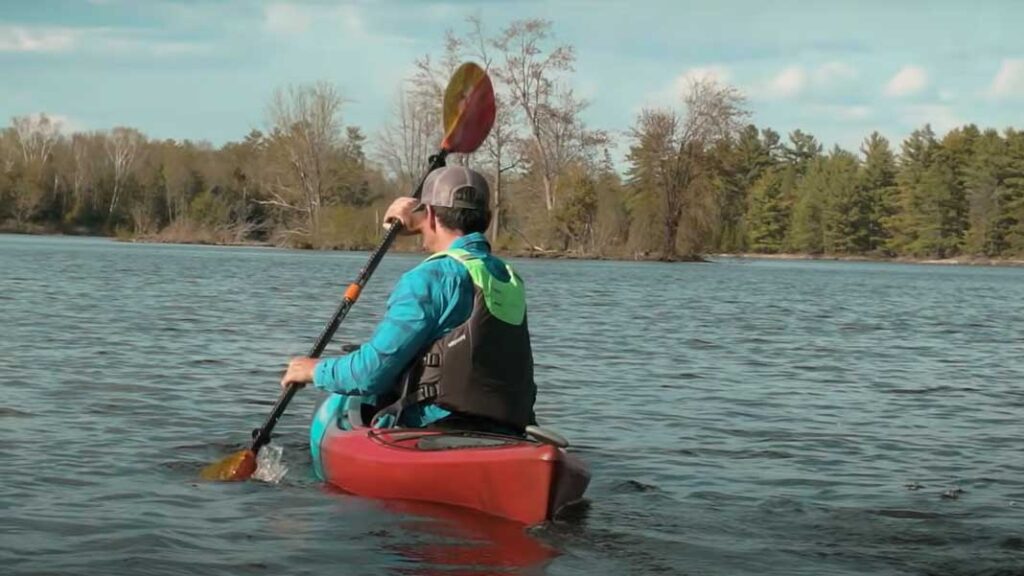
The first phase of the forward stroke is called the catch phase. This is when your blade enters the water. Here, you'll want to reach not just with your arm, but with your shoulder – turning at the waist to do so.
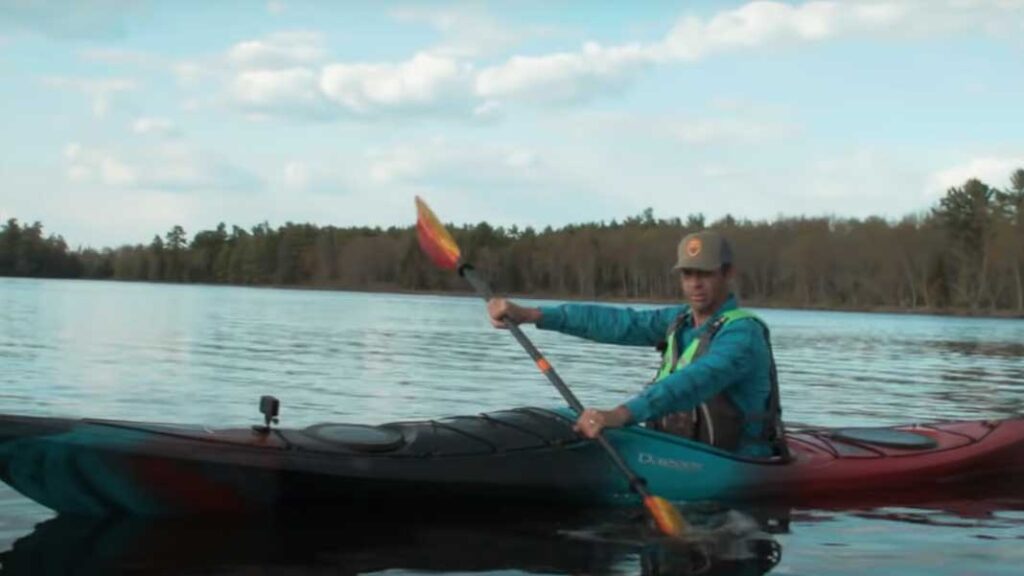
Power Phase of the Forward Stroke
This rotation of the torso effectively winds up your core muscles, which will produce significantly more power during the pull, or power phase. During the pull phase, you're not only pulling with those Popeye arms, but this is where you'll unwind the torso by engaging your core (particularly the obliques).
Release Phase of the Forward Stroke
Continue pulling the blade alongside the kayak until it gets just past your hip, and that's where the stroke ends. At this point you've moved into the release phase, which simply involves slicing the blade out of the water as you transition into the catch phase on the opposite side.
Punching Forward
While your one hand is pulling the submerged blade through the water, the other hand (your top hand) is going to push forward at about eye level. Some people call this “punching forward,” which is a bit misleading since it's not an aggressive motion, but rather a smooth motion that helps encourage the momentum of the opposite blade as it pulls through the water.
Do you use your Leg Muscles in a Forward Stroke?
Absolutely. Once you're comfortable with the upper body movements, shift your attention to your lower body. Bring those powerful leg muscles into the equation by pushing into the foot peg on the same side that you're stroking on. This will create a steady left, right; left, right rhythm that aligns with the upper body pull phases. This is an important revelation as you learn to kayak, use your legs!
Breaking down Sweep Strokes for Kayakers
The sweep stroke is a kayaking stroke you need to know in order to effectively turn your boat. A sweep stroke is important for every kayaker, whether you have a highly maneuverable kayak, or one that is designed to hold a line. This technique comes in two forms: the forward sweep, and the reverse sweep.
Forward Sweep Stroke
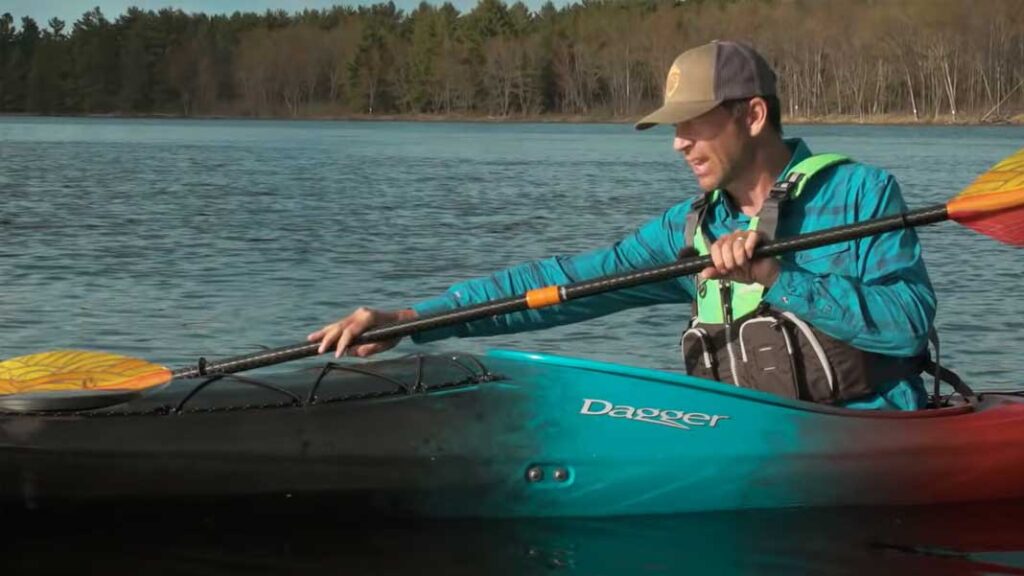
To perform the forward sweep, you're going to want to start by reaching the blade (that is opposite to the direction you want to turn) far forward (in front of your toes if you can), and doing so by once again winding the torso.
Sweep away from the kayak
From there, instead of pulling the submerged blade alongside the kayak, you're going to sweep away from the boat, forming as wide of an arc as you're comfortably able to. All the while, your top hand stays nice and low, generally in front of your stomach. Continue sweeping until just before the blade makes contact with the now turning kayak, and then slice it out.
Watch your sweeping blade
A great way to emphasize the unwinding of the torso is to watch your sweeping blade throughout the entire stroke. Now, recreational kayaks tend to turn well on their own, but if you're in a sea or a touring kayak, then leaning onto the same edge as the sweep stroke will help you to dig in and turn more readily. With that said, there's no need to flirt with tipping unless you feel comfortable balancing your kayak on edge.
Reverse Sweep Stroke
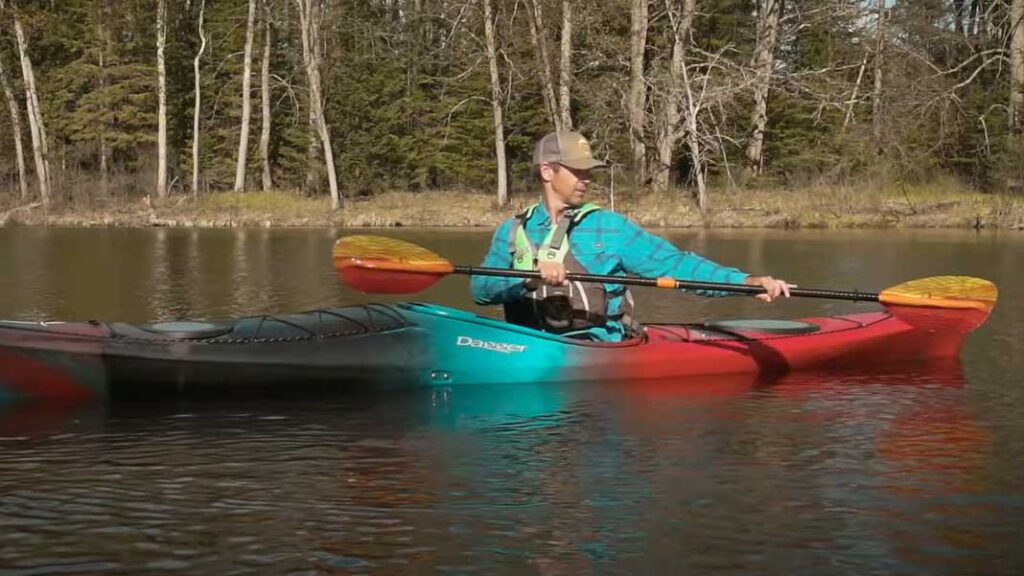
As for the reverse sweep stroke, start by turning your body all the way towards the back of the kayak, planting your blade, and then unwinding as you perform the opposite motion as described for the forward sweep stroke – this time removing the submerged blade just before it makes contact with the front of the boat.
Rotate Torso
Torsional rotation and core strength comes into play even more so when performing the reverse sweep stroke. The arms actually don't push much at all for this one. And once again, the more advanced version of this maneuver involves tilting the kayak on edge.
Breaking down the Draw Stroke
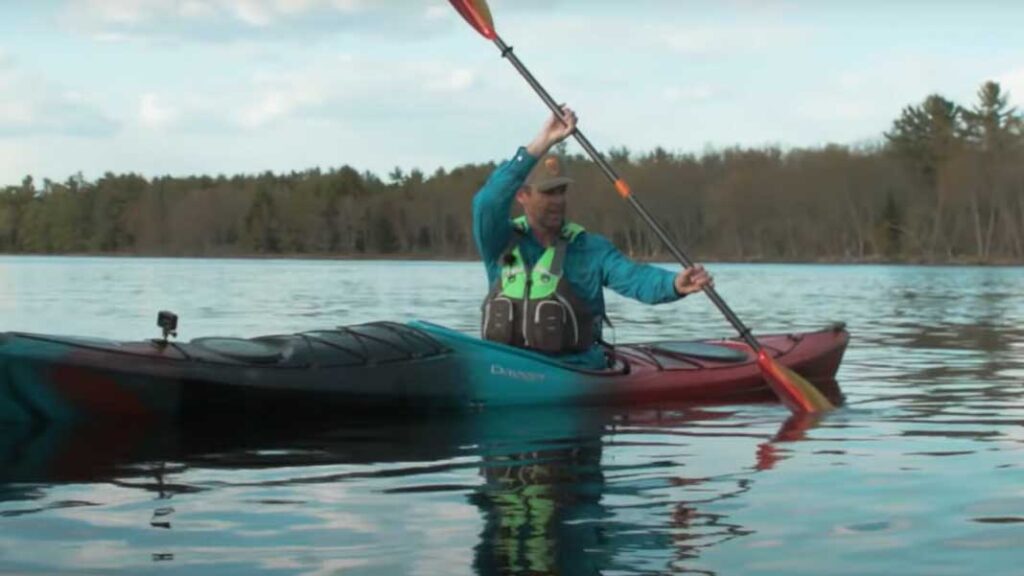
It's time to look at how to move your boat laterally. This is what the draw stroke is for. The draw stroke is done by turning your body towards the direction you want to go, aligning the paddle more vertically, reaching the bottom blade almost straight out (in-line with the hip), and then drawing the water towards the kayak.
Slice the blade out of the water
Make sure to slice the blade out of the water just before it contacts the boat. Depending on the design of your kayak, you may find that the bow and stern don't move in unison. To compensate for turning slightly in one direction, experiment with drawing slightly in front or slightly behind your hip. Play around with it and you'll quickly find the sweet spot.
Top hand is a pivot
One last thing to note is that during the draw stroke, the top hand is not particularly active. Think of it as a pivot point around which your bottom hand does the work.
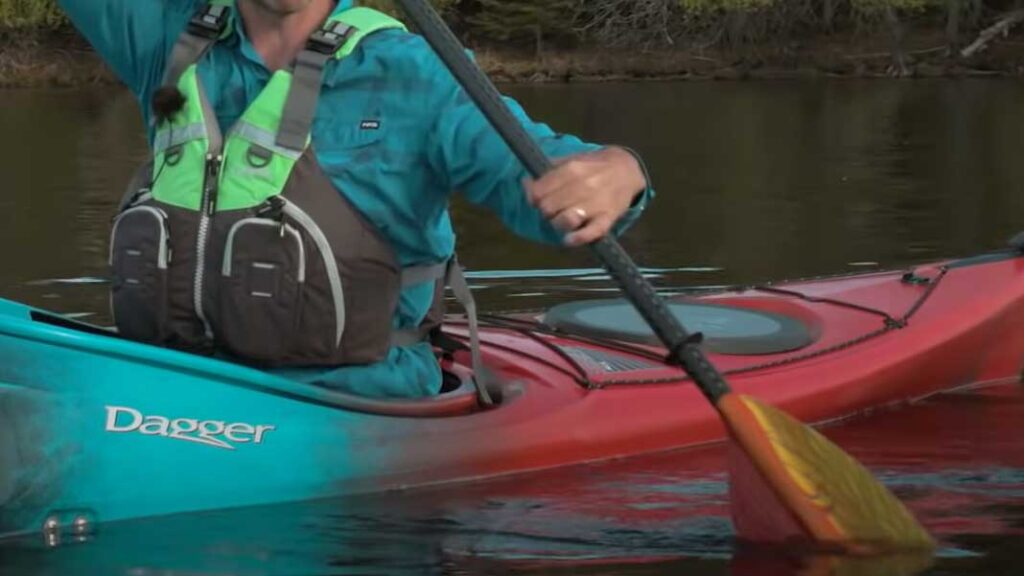
A spicier version of the draw stroke is the knifing draw. For this approach, instead of slicing the blade out of the water after each draw, you'll turn your bottom hand by 90 degrees and then slice the blade back out to where it started, while still leaving it mostly submerged.
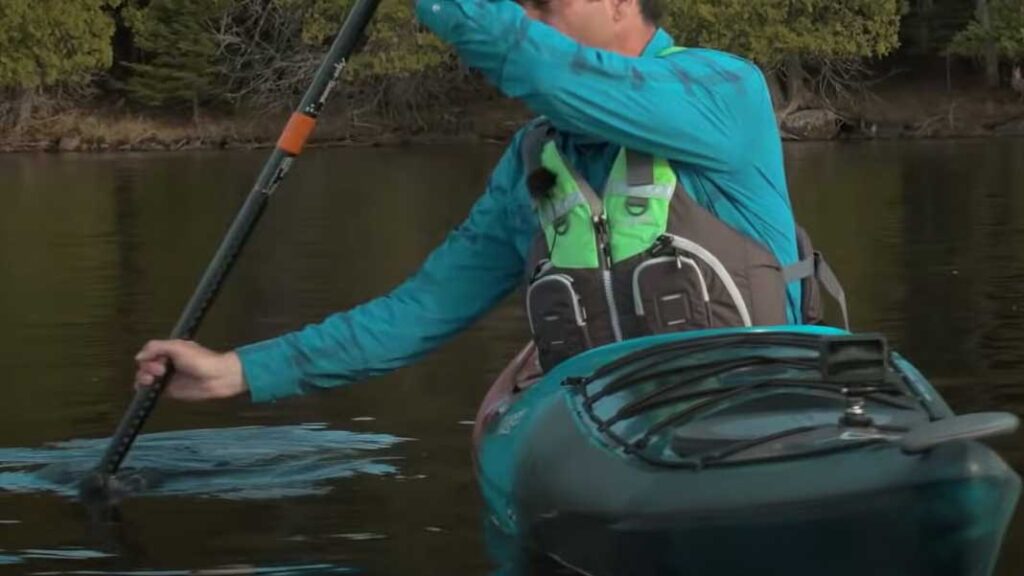
Sculling is a modified Draw Stroke
And finally, the most advanced version of the draw stroke is the sculling draw stroke. This approach applies steady pressure on the draw stroke, without needing a recovery phase. This one goes a little beyond the beginner scope of this article, but if you want to get an idea of what it looks like, click here for that exact part in the video.
Subscribe to the Newsletter
I hope this gives you a nice overview of the 3 basic kayaking strokes as you learn to kayak. We can (and will) go into the finer detail for each, but this should give you lots to think about as you develop your sweet skills. Check out these linked articles if you're interested in learning how to paddle a kayak properly, avoiding common kayaking mistakes, or learn how to kayak without back and shoulder pain. And for more how-to videos, gear reviews, and vicarious off-season adventures, subscribe to our newsletter.


