


In this post, I want to share some tips on tying the Uni-to-Uni, aka the Double Uni Knot. This handy knot allows you to tie lines made from different materials with different diameters together for a super strong connection.
How to Tie a Double Uni Knot
In the first example, I’ll demonstrate how to tie the Double Uni Knot using cordage so you can see what I’m doing more easily. This will show how well the knot works when connecting lines of two different types and diameters.
After this, I’ll do another demo with braided and fluorocarbon lines.
Double Uni Knot Step-by-Step Demonstration with Cordage
Here I have a small diameter piece of yellow rope and a section of red cordage with a larger diameter.
Step 1
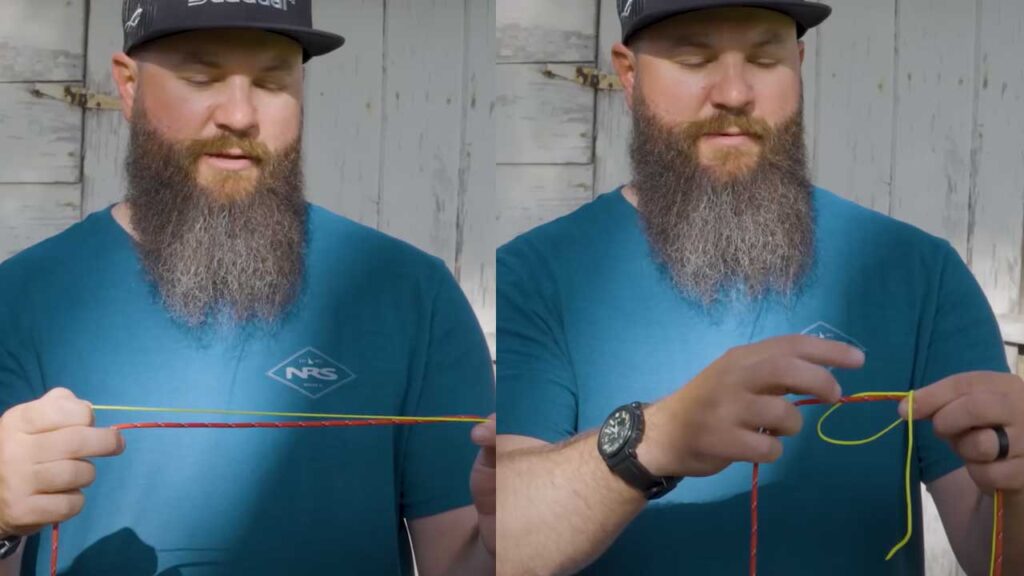
Start by making sure that your two lines are parallel and opposing one another.
Step 2
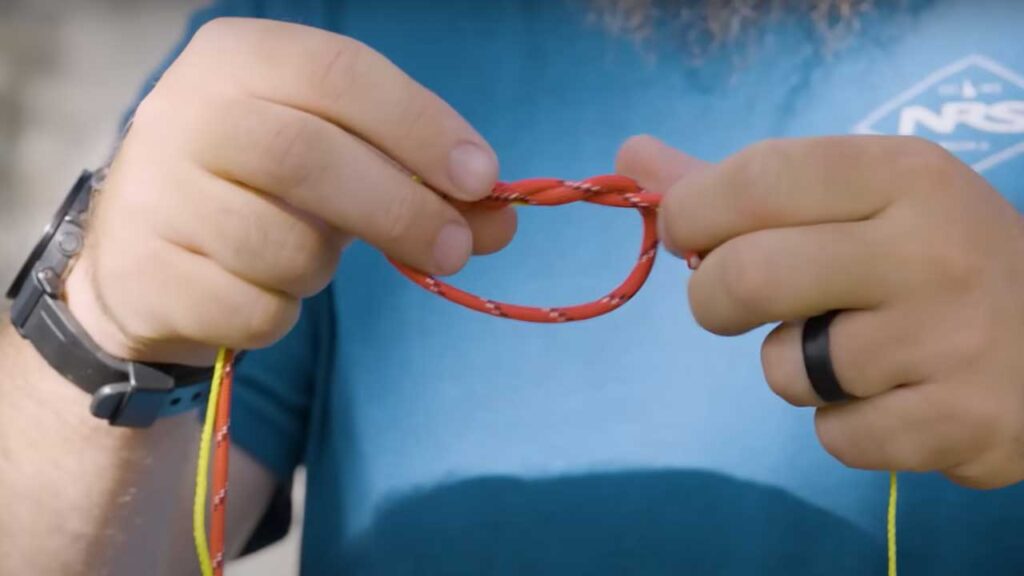
Now take the line with the smallest diameter and create a loop. Make sure the loop is big enough for the next step.
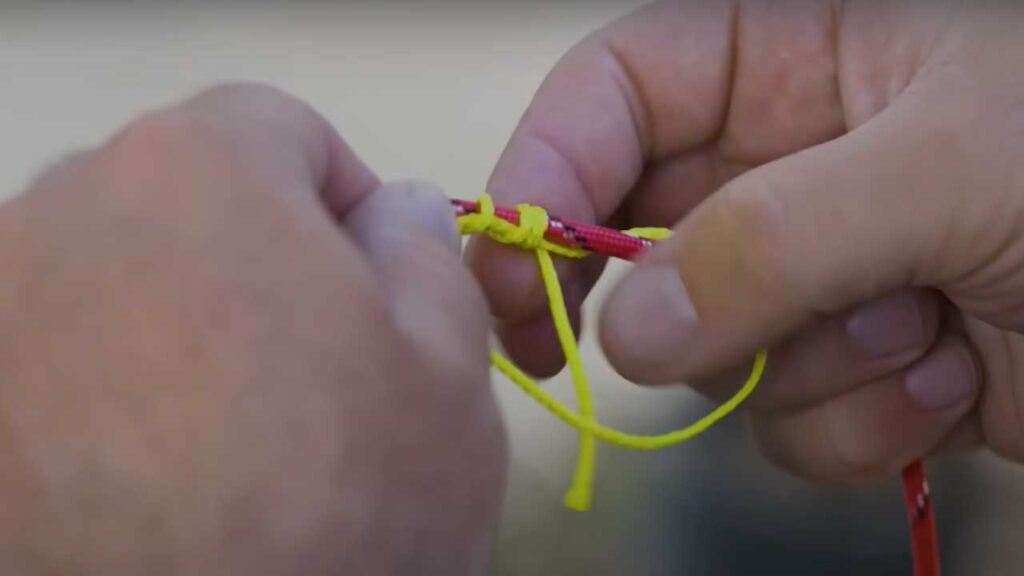
Step 3
Here I’m wrapping the tag end around the loop and itself five to seven times.
Step 4
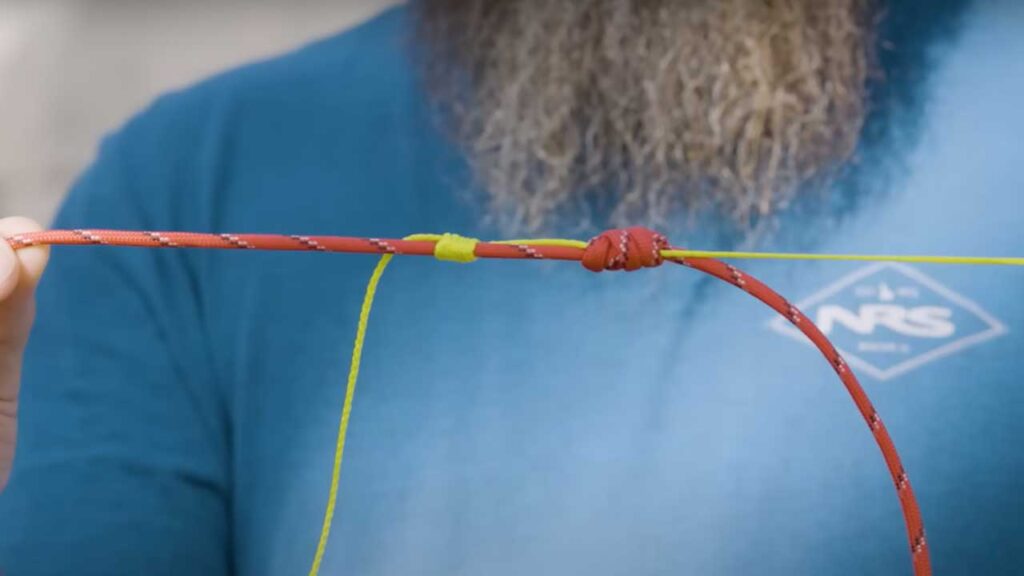
Once I have those five to seven wraps, I'll take that tag end and cinch it down. You may have to help it along as you pull.
At this stage, the knot will actually slip on the other line. So now you need to tie the same knot on the opposite side so they'll slip tight toward each other.
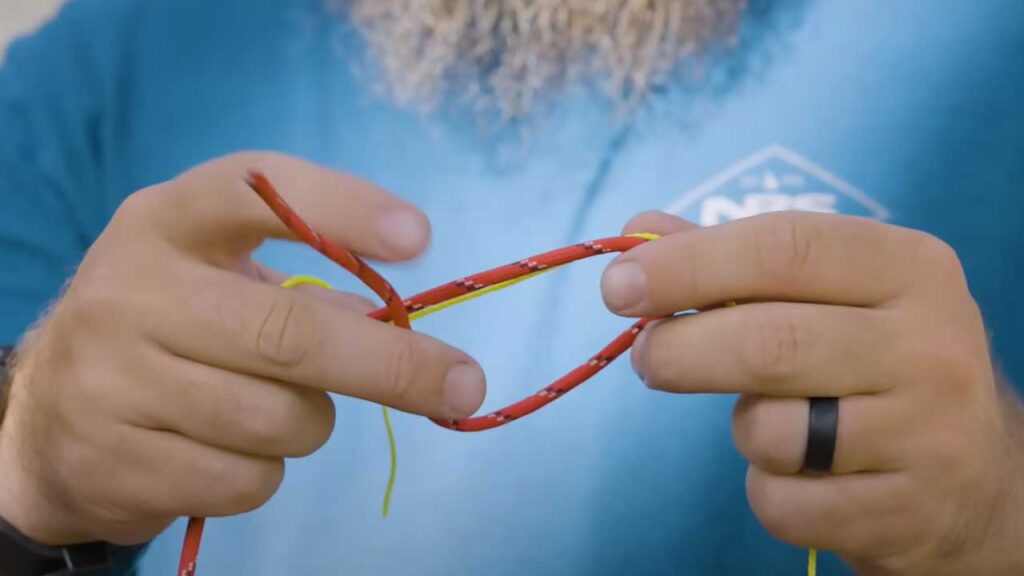
Step 5
Now I'm going to do the same thing with the other line by first creating a loop.
Step 6
Here I'm wrapping the line through the loop and around itself five or seven times.
Step 7
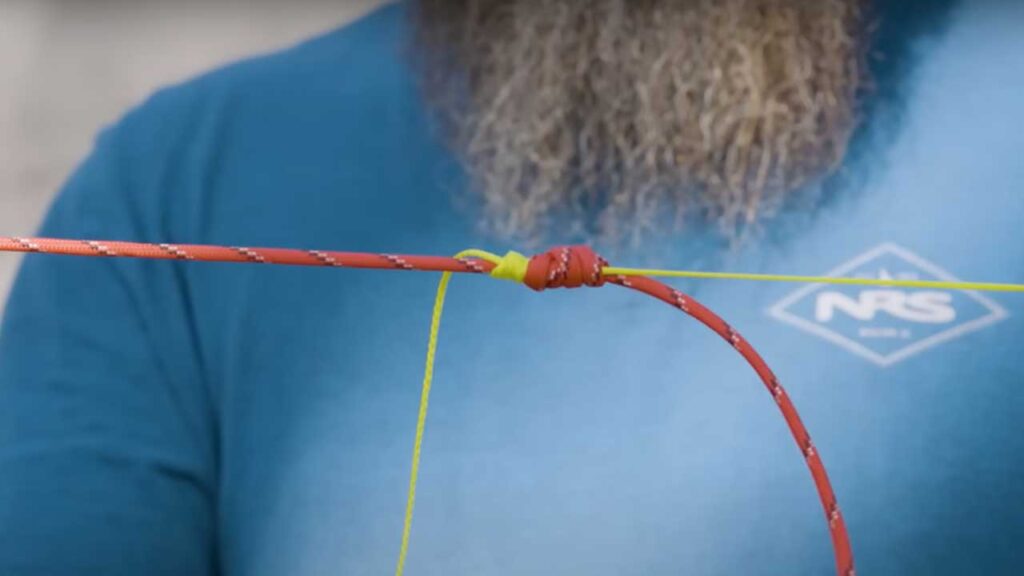
Then I'll pull that knot nice and tight.
Step 8
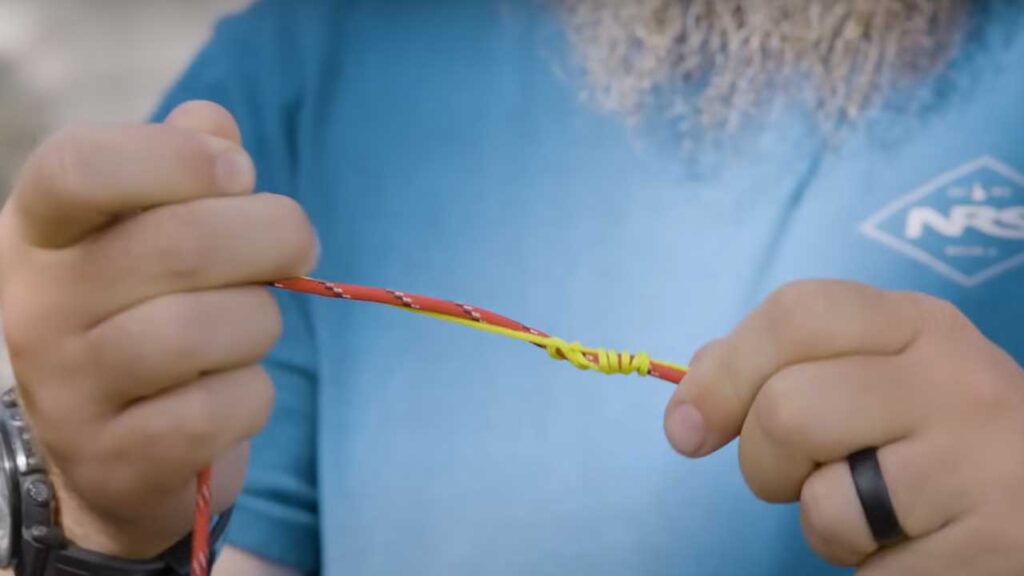
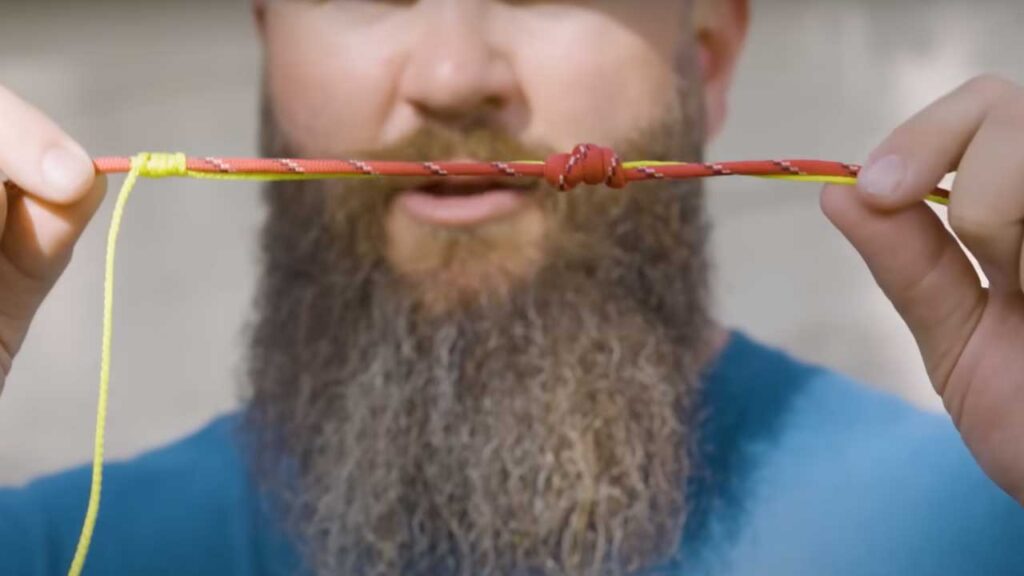
Finally, I'll drop the tag ends and pull the lines toward one another until the two knots are touching. Now I just need to trim the tag ends.
When it’s done you basically have two opposing Uni Knots. You can really see the difference in the diameters of the two lines.
Double Uni Knot Recap
The Uni-to-Uni, or Double Uni, Knot is my go-to knot for tying braided line to leader material. Actually, it works in nearly any situation where you have two lines of different diameters made from different materials.
I love the Double Uni because it’s strong and easy to tie. Give it a try next time you need to connect two different types and diameters of lines. I think you’ll agree.
I did an article on the Non-Slip Loop Knot for Fishing. Check it out as well.

Braid: Seaguar Smackdown Flash Green
Leader: Seaguar Gold Label Fluorocarbon Leader
Clothing: NRS Silkweight T-shirt


