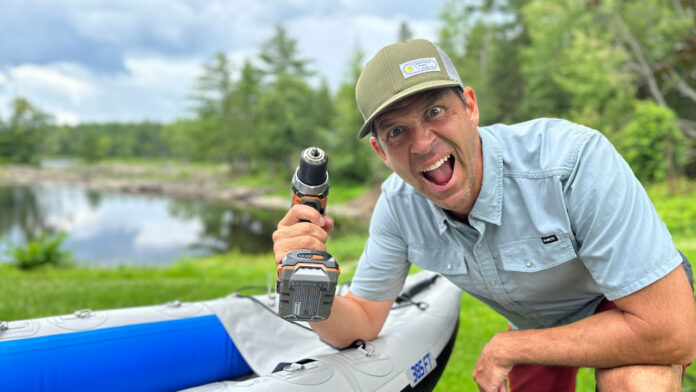
Quality inflatable kayaks are remarkably durable, but you can still get a hole in them! The fear of popping and being unable to fix an inflatable kayak puts many people off purchasing one. But repairing inflatable boats is remarkably an easy job!
To illustrate how easy it is to repair your inflatable kayak, I drilled a hole in my Sea Eagle 385. So let’s fix it. Many thanks to Sea Eagle for their support over the years… man do I feel bad about drilling a hole in their kayak! You'll see that the provide all you need to quickly get back on the water! I have a whole bunch of posts, stories and reviews of Sea Eagle products. Check them out here: Sea Eagle Articles
1. Find the Puncture
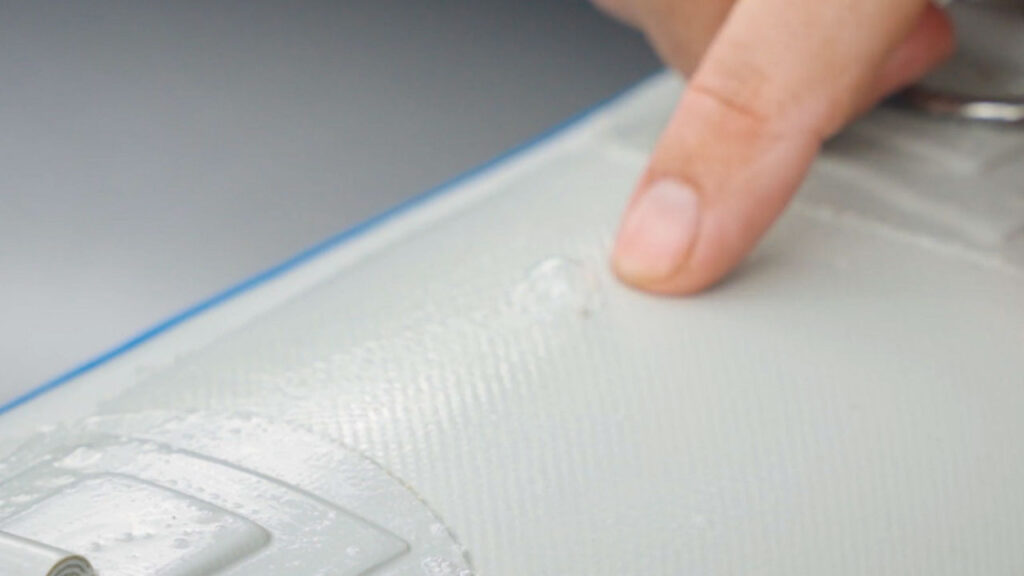
When you have a small puncture in your inflatable kayak and can't find it, there is a simple solution. Spread soapy water over the surface of the kayak and the soap on top of the leak will start bubbling. It very quickly becomes clear exactly where the leak is!
2. Dry and Mark the Hole
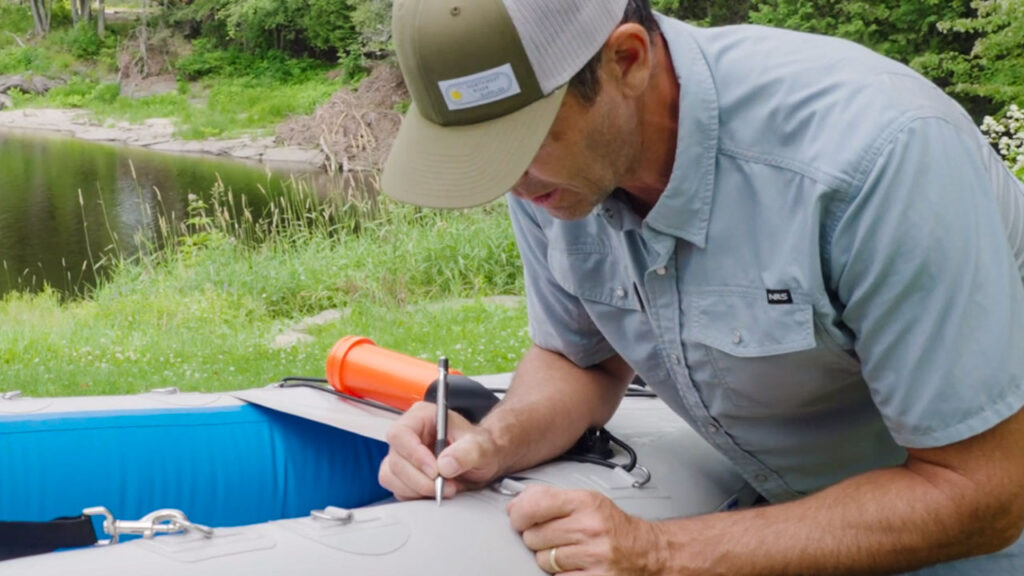
Once you’ve found the location of the hole, you will need to clean it. Ideally, you need to remove anything oily from the surface. You can do this using toluene or paint thinner. Then, dry the kayak completely.
Make sure to mark the hole on the kayak so you don’t lose track of the leak. It can be easy to lose track of the leak when the kayak is deflated.
3. Find a Patch
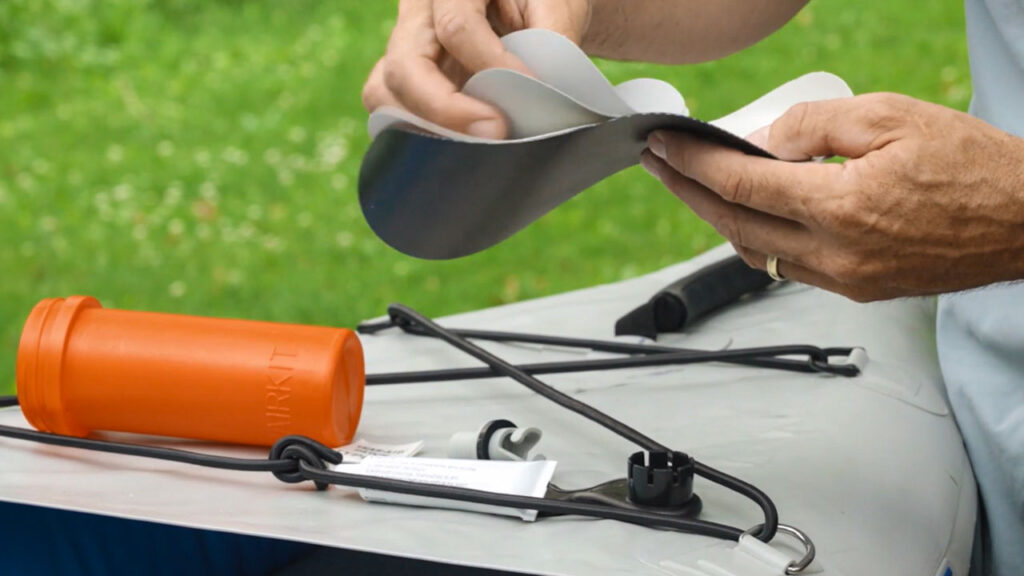
Once you know where the leak is and have dried it off, you need a patch. Most inflatable kayaks come with a patch repair kit so you can patch up your inflatable kayak if it happens to puncture.
The Sea Eagle 385 repair kit includes glue and several different patches depending on which part of the kayak needs patching. Some inflatable kayaks come with one generic patch to use anywhere on the kayak.
You may also receive tear aids, which are very flexible second-skin-type patches. You can apply these directly to the leak which in 99% of cases it will stop the leak immediately. Tear aid is a great temporary solution for when you are on the water. However, this is not a long-term fix, so you still need to patch the kayak for a more long-term solution.
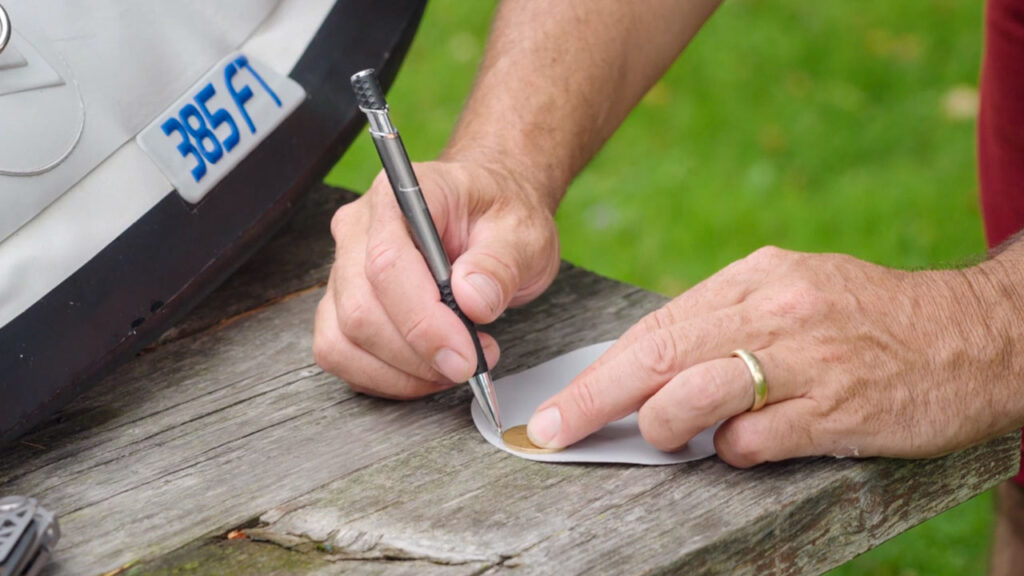
4. Prepare the Patch
The first thing to do to prepare the patch is to cut it to the correct size for the hole. The patch does not need to be huge. All you need is at least half an inch of fabric from the edge of the hole on all sides. It is best to create a circular shape patch. Patches with hard, squared corners are more likely to catch on things and will ultimately lift-off.
Cut the patch with good, sharp kitchen scissors. If you do not have these, a sharp knife works as well.
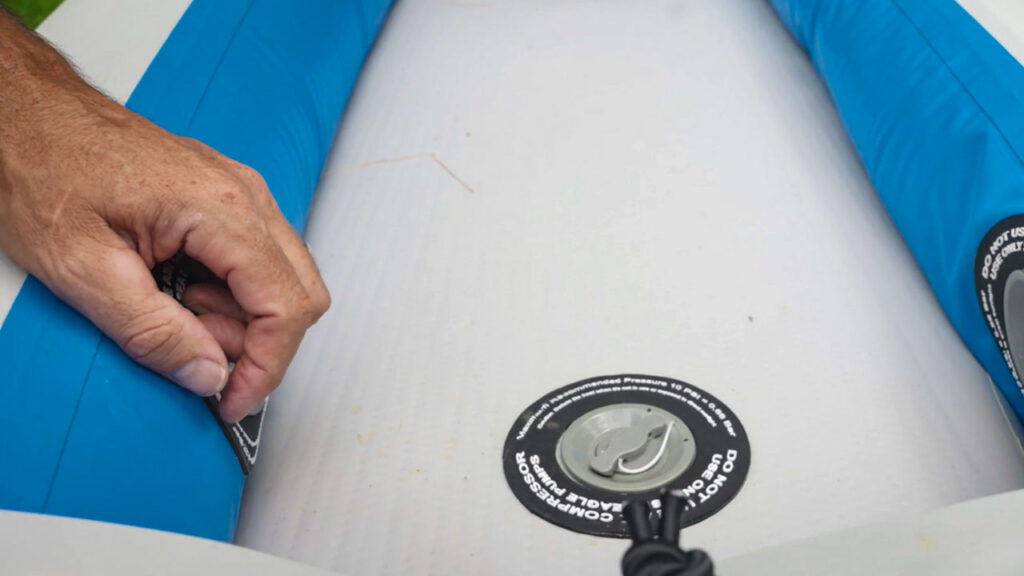
5. Deflate the Kayak
You will need to deflate the kayak to glue the patch. When the kayak is inflated, the material is stretched. You do not want to glue an unstretched patch onto a stretched kayak because this will strain the patch and the glue. When the kayak is deflated, neither material will be stretched.
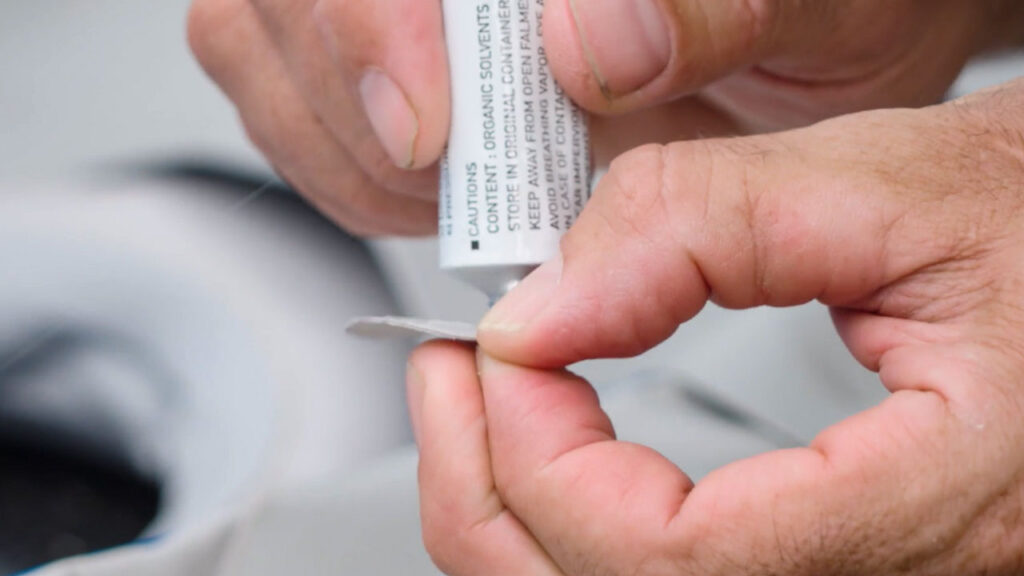
6. Glue the Patch
After double-checking that the area is clean and dry, it's time to start gluing. You should apply glue to both the patch and the kayak in two layers. If you want to be very precise, you can trace the patch onto the kayak so you know exactly where to spread the glue.
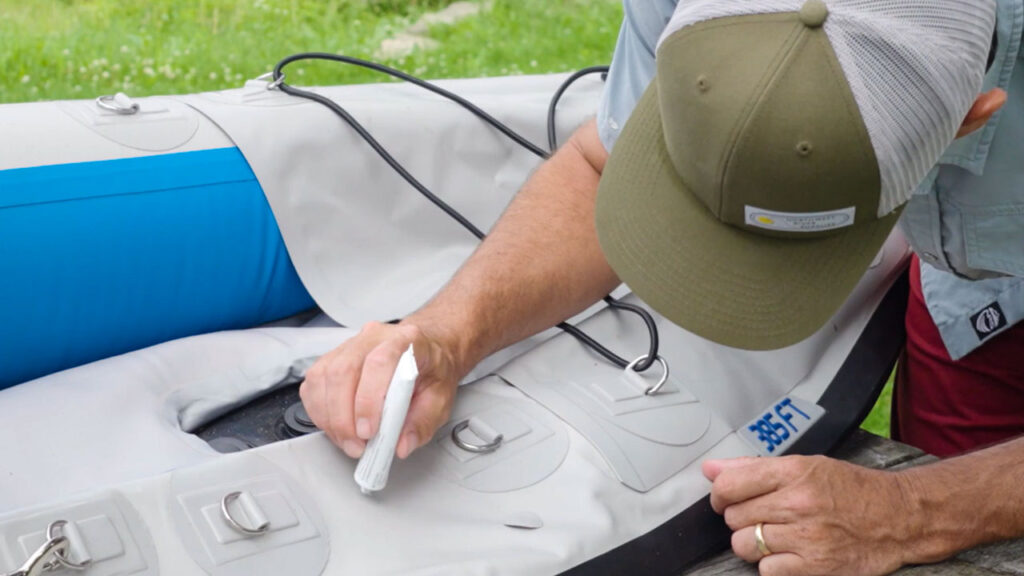
To break the gluing process down, apply the first layer of the glue to the kayak and the patch and then let it dry. Once this layer is dry, apply a thin second layer to the kayak and the patch and let that almost completely dry. Before it fully dries, place the patch and gently work it on. Then leave it to cure for a short while.
7. Re-inflate the Kayak
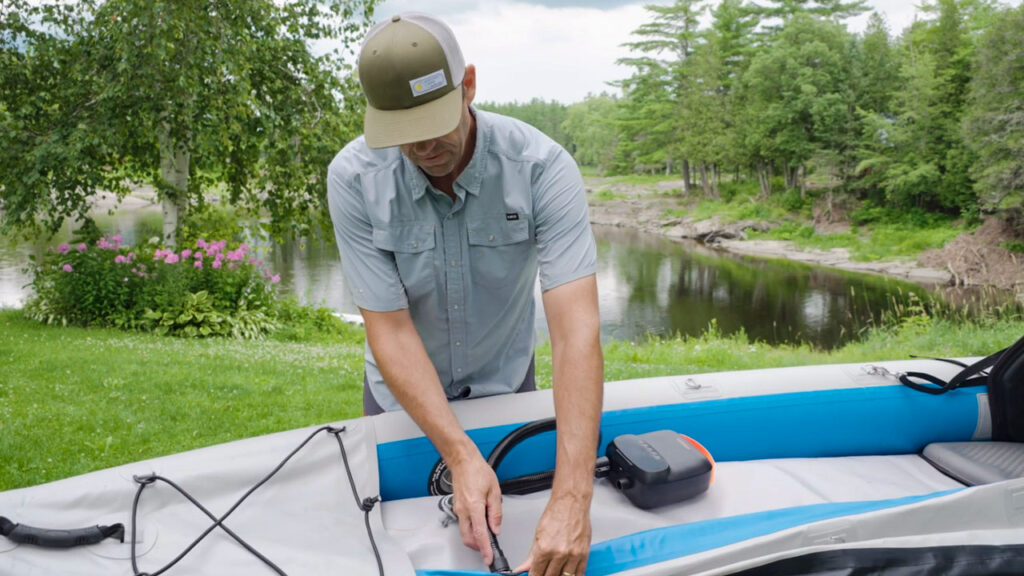
Once the patch is dried and cured, you can re-inflate your kayak and test to make sure that it has fully covered the air leak. I prefer to inflate my inflatable kayaks using a battery-powered pump (mine goes up to 15 psi) so that I can use minimal effort!
It is a good sign if you cannot hear any air leaks when the kayak is fully inflated. But to double-check that there is no leak, you can do the bubble test again. If you don’t see any bubbles, your kayak is good to go!
It Is That Easy
Getting a small hole in an inflatable kayak is not a deal breaker. It is not the end of your kayak and you can easily patch it. That being said, if there is a leak on a seam, it is a much more difficult process. Seam issues can be the end of your boat. But if you get a puncture anywhere else on your kayak, you can very easily repair it.

Kayak: Sea Eagle 385 FT
Clothing: NRS Short Sleeved Guide Shirt


