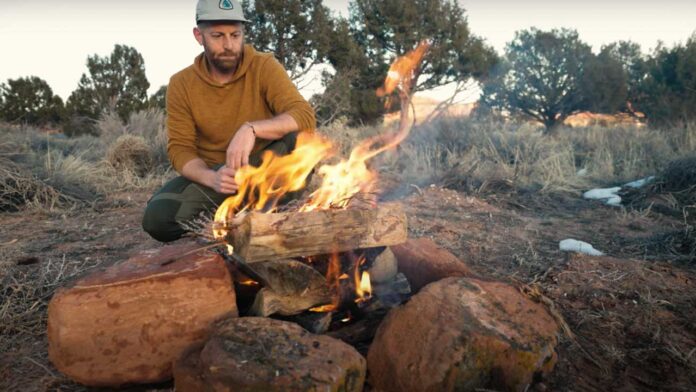
Have you ever yearned to build a fire the old fashioned way? Whether you're an enthusiastic outdoorsman looking to get in touch with your primal roots, a responsible explorer who wants to cover all the bases for potential survival situations. Here's how to start a fire with nothing on hand!
You could even be a “prepper” who needs every possible tool to thwart the zombie apocalypse. Any way, creating fire without modern aides is a truly satisfying experience. It is also exceptionally difficult, but that's part of what makes it so rewarding.
Where I learned How to Start a Fire With Nothing
Before my era in front of the camera, I was a wilderness therapy guide. During that time, I took it upon myself to learn this valuable skill, and now I want to share some of this age-old wisdom with you.
This particular lesson/demonstration will pertain to the Utah desert, where I set out to dust off the necessary techniques. But perhaps you can translate the following instructions to fit the materials that are available in your neck of the woods. Now let's channel your inner Cast Away!
The Spindle and Fire Board
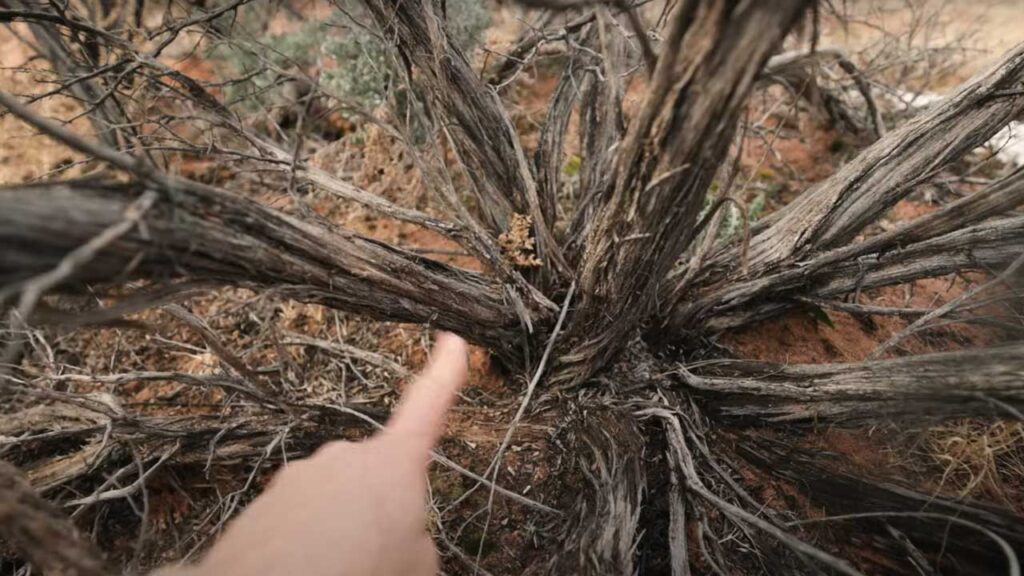
The first task is to hone in on a sage bush, and find a nice straight piece of wood to make a spindle. In this case, I needed live sage (don't worry, there's tons of it). With my trustee backcountry saw, I harvested a branch from the base of the bush, fashioning a piece about the length and width of a baton (for all you track and field fans out there).
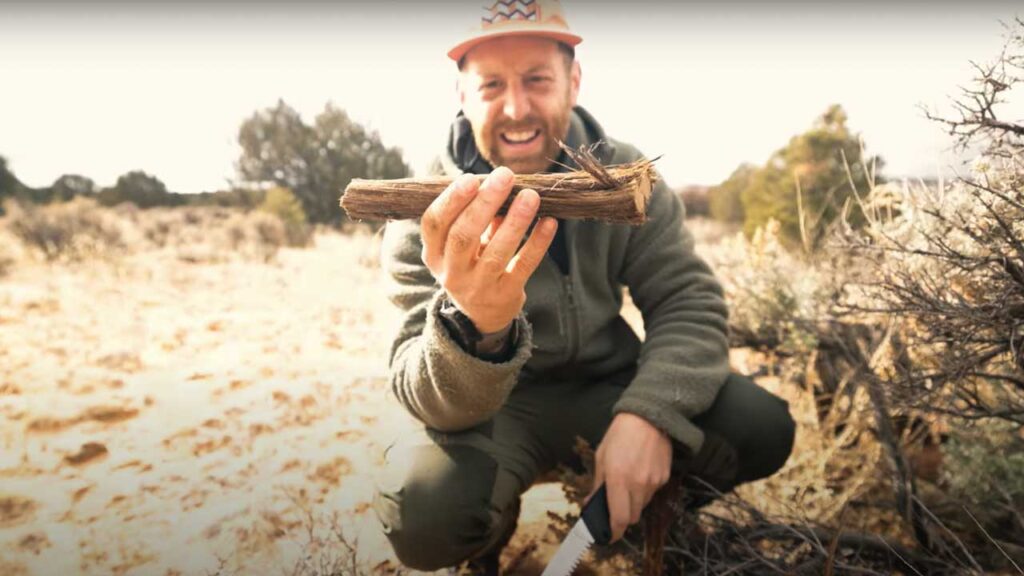
The next act will be to shave both ends into a stake (or all you vampire slayers out there). While you're at it, use that knife to whittle down any high points throughout the shaft.
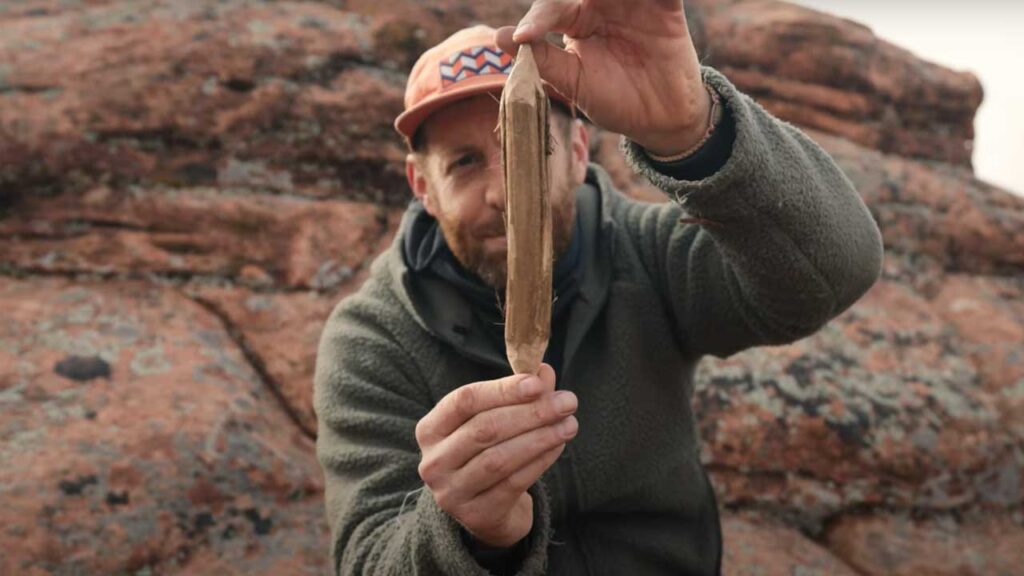
You'll want it to be as smooth as possible for when the paracord needs to spin it rapidly. The goal is to generate friction between the bottom point and the fire board, but to do that effectively, you have to avoid friction in the middle of the spindle.
Making a Bow
The generous sage will also supply the fireboard portion of your (mostly) organic pyro kit. Once again, saw from the root of the bush, this time looking for a piece of wood that can act as a flat base for your ensuing efforts.
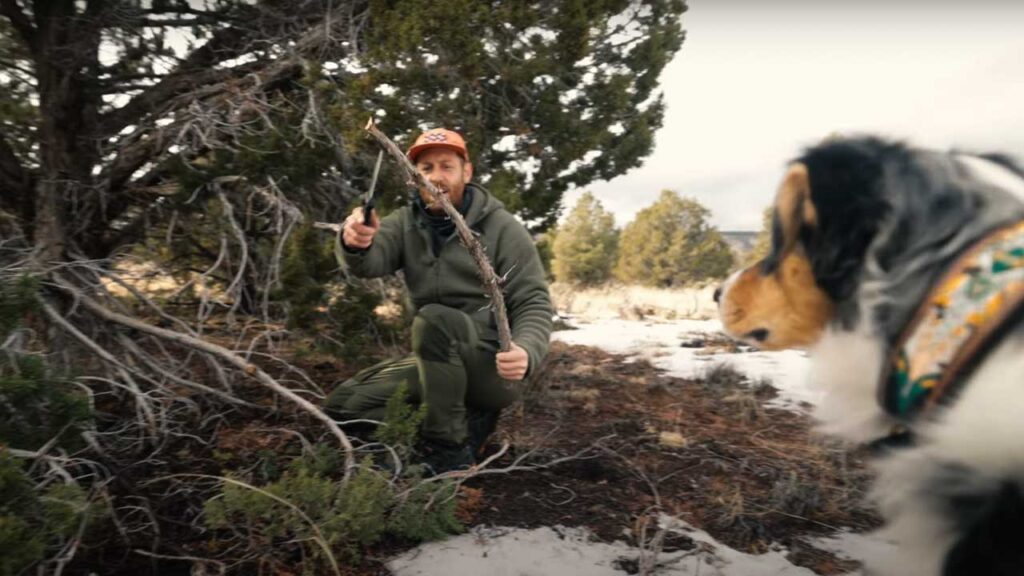
Next up, let's turn our attention to the juniper tree. Do your best to find a branch that is about as thick as a broomstick, and has a natural curve to it. In this case, you'll probably want to aim for the last section of the branch, rather than the base.
After that, clean off all the little twiggies and greenery so that you have something that you can freely string some paracord to. Paracord is the one item that is worth bringing from home. It's easy to pack, and will be the essence of your bow.
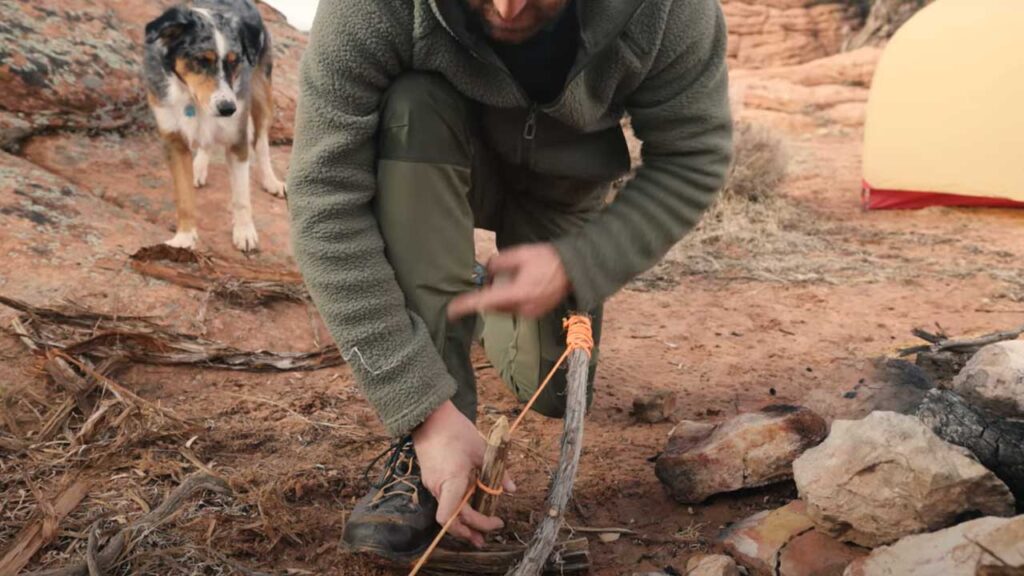
Secure it tightly around one end of the stick, wrap it around the spindle (so that it's centered) and then anchor it to the other end.
Finding Firestarter Materials
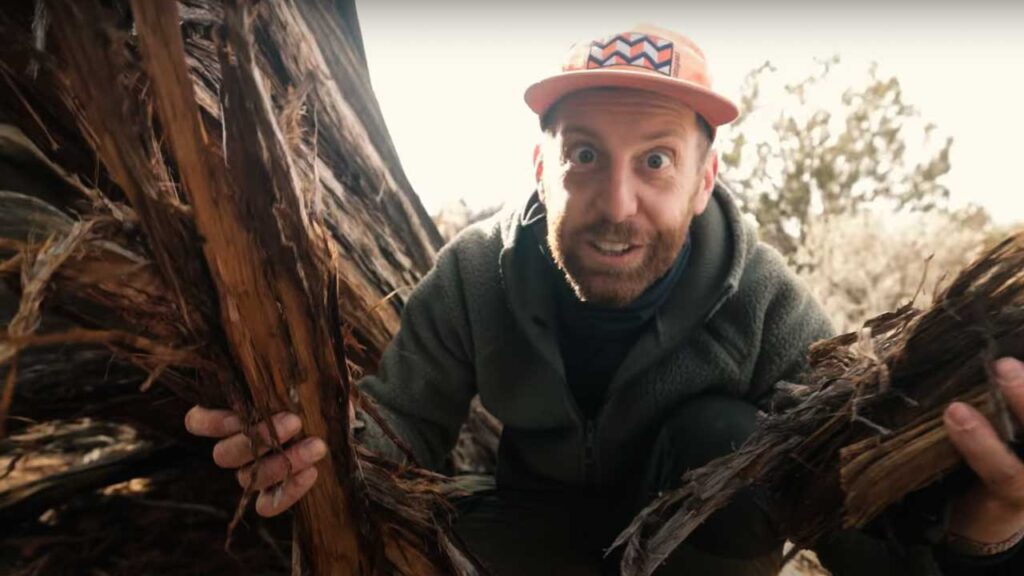
And lastly, juniper makes some of the best fire-starter on the planet, so before you go, look around for some dead spots to peel bark from. Here, I would request that you make the effort to spare the tree from any harm.
Try not to take more than you need, especially from healthy-looking sections of the trunk. You should be able to find dried out, fibrous material on the underside of dead sections. That stuff will nourish even the feeblest of sparks.
Prep for Success
Before you get your sweat on, working that bow and spindle as hard as you possibly can, be sure you're ready to act when that coveted ember emerges. Thankfully, an ember is much hotter, longer lasting, and easier to transport than what you'd get from a lighter or match.
It is still important to build a little bird's nest-like catcher out of the fibrous juniper bark. And then, of course, if you are successful in conjuring a small flame, you'll want to have a fire pit, kindling, and a good supply of wood to burn all at your disposal.
Time to Create Fire!
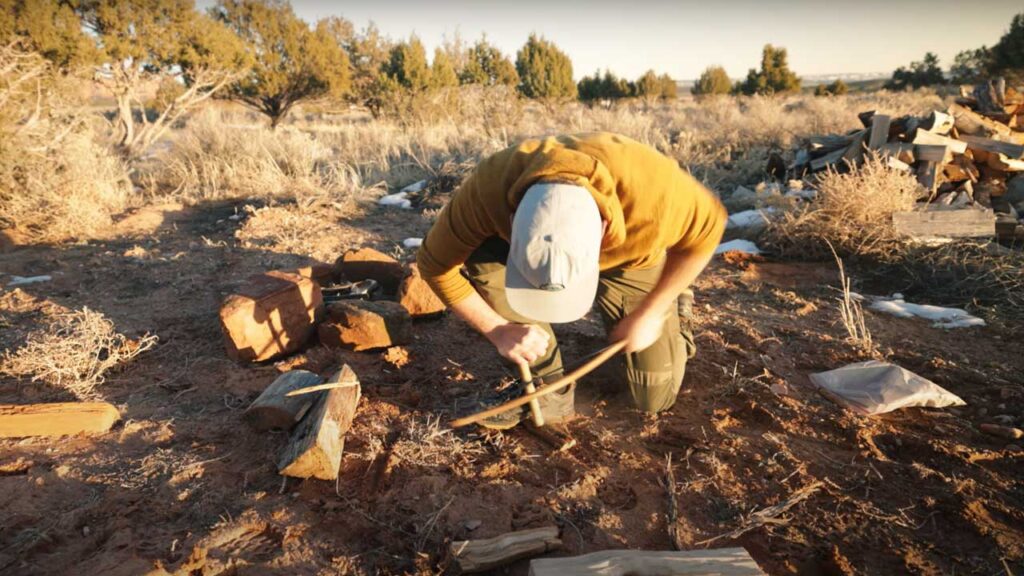
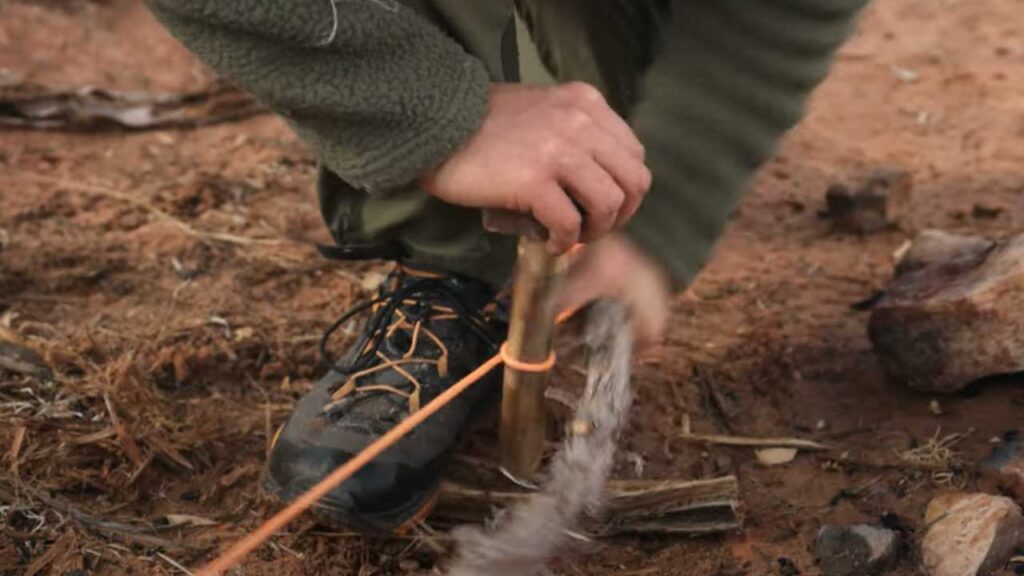
Now that you have all the tools at hand, it's time to incorporate your own body into the mix. Kneel down on the ground, picking your knee depending on which hand you want to use to work the bow (should be the same side).
With your opposite leg, step on the fireboard, and align your shin perpendicular to the ground (there should be about a 90-degree bend in this leg). Curl your non-bow arm around the knee, thereby providing stability for the downward pressure you'll need to persistently maintain (with the help of a “top rock”).
When Smoke and Embers Arrive
From there, all that's left to do is to work the bow back and forth until you see a good amount of smoke rising up from your fireboard. During the exhaustive process, a hole (or holes, depending on your number of attempts) should naturally form from the tip of the spindle.
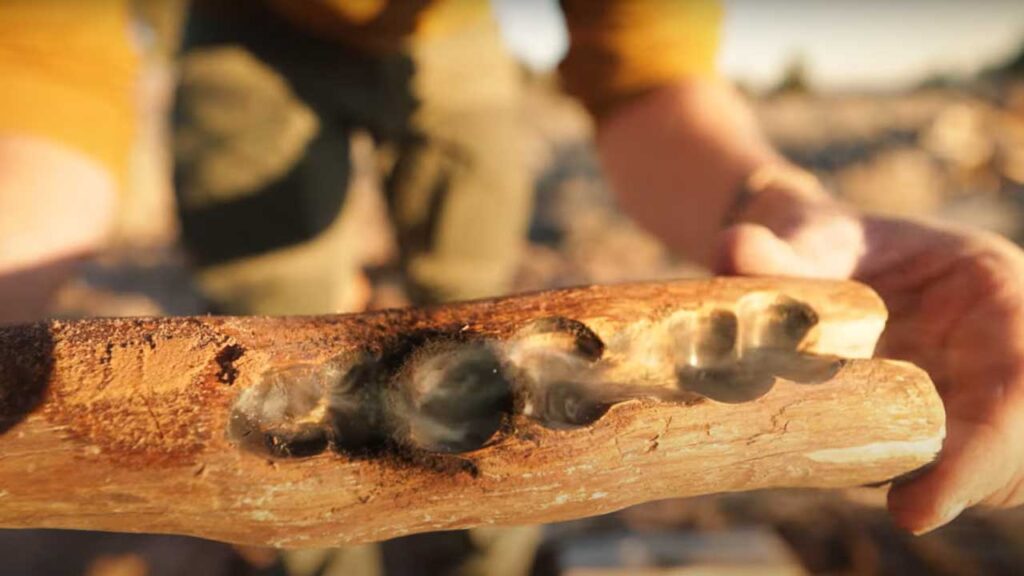
When you're sure you've generated enough heat, set the bow, spindle, and top rock down, grab the smoldering fireboard, tip it upside down over your juniper nest, and tap out the embers.
From Fireboard to Fire
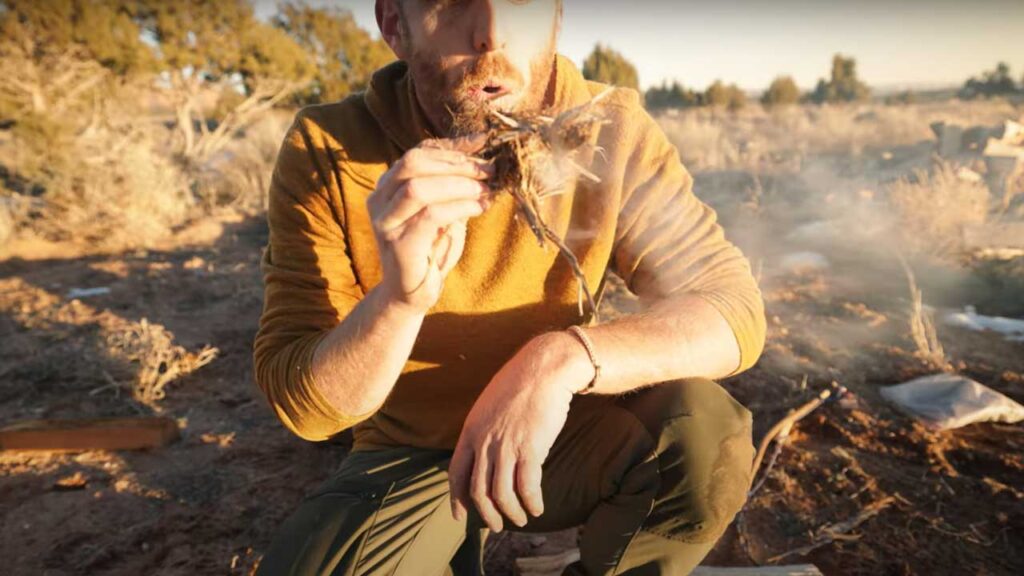
Give it a bit of love by carefully blowing on it, and when you're certain you have something, transport the nest to your pre-made fire pit, and build it up from there just like you would with an artificial flame.
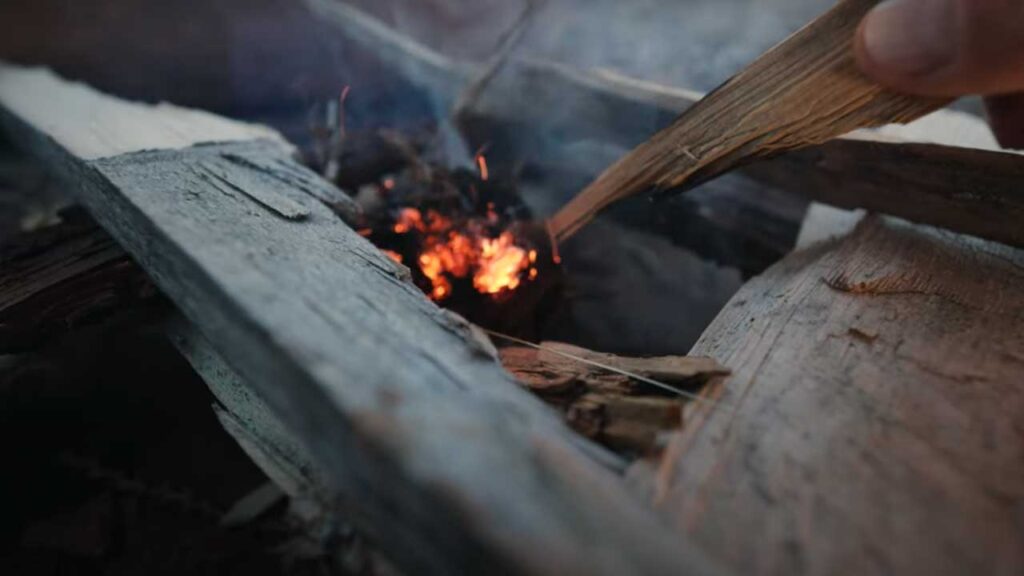
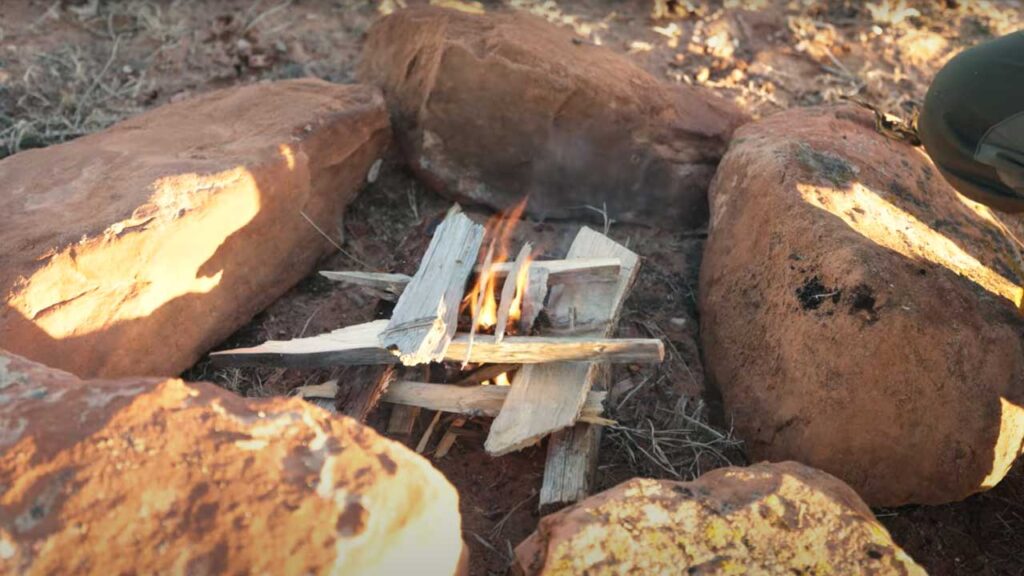
Following these steps and utilizing similar materials will set you up for success, but there will still be an extended learning curve. In the meantime, stay positive and know that this is a feat that can be accomplished by any determined person. And when it does finally happen, you can call out to the heavens and triumphantly exclaim, “I have made fire!”
For more tips and tricks on everything hiking and camping related, as well as scores of fresh gear reviews, stride on over to BackpackingTV.


