


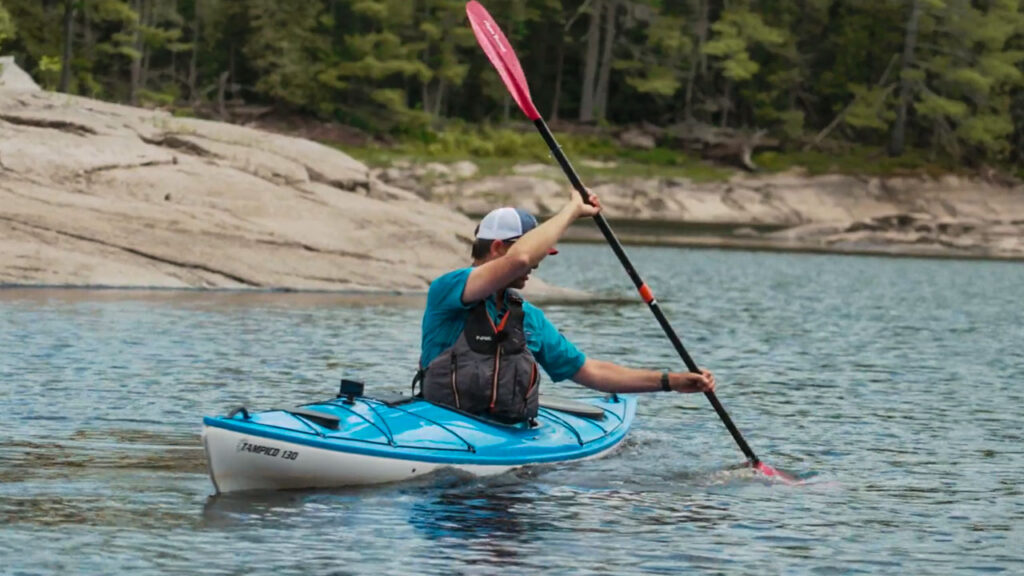
Most kayakers only learn how to paddle forward and how to turn their kayak. But the draw stroke is a very valuable stroke to learn. The draw stroke lets you move your kayak sideways through the water. It not only helps you move the kayak in another direction, but it unlocks the door to more advanced paddling techniques. So here are some kayaking tips to help you learn the draw stroke for kayaking.
The Basic Draw Stroke
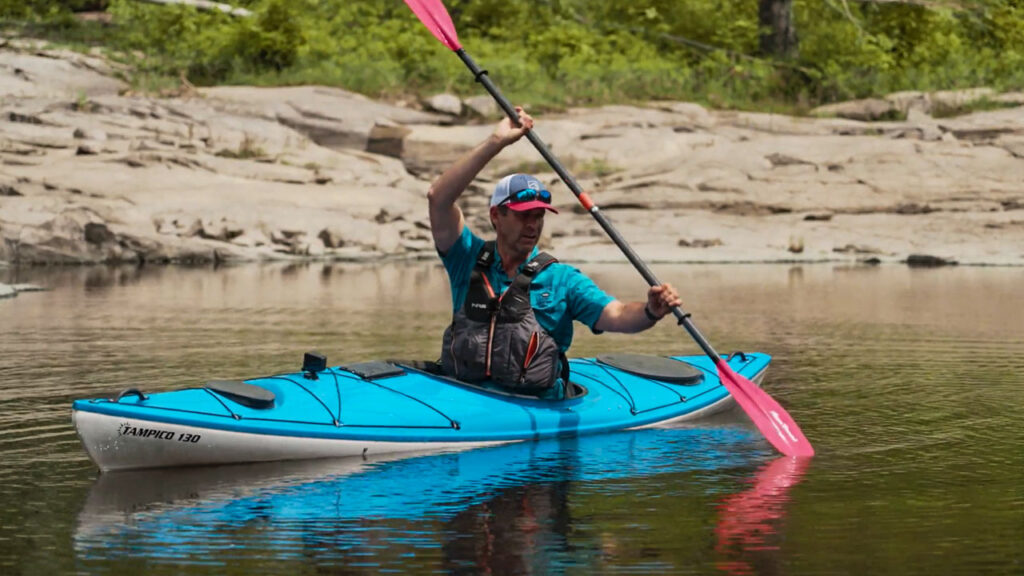
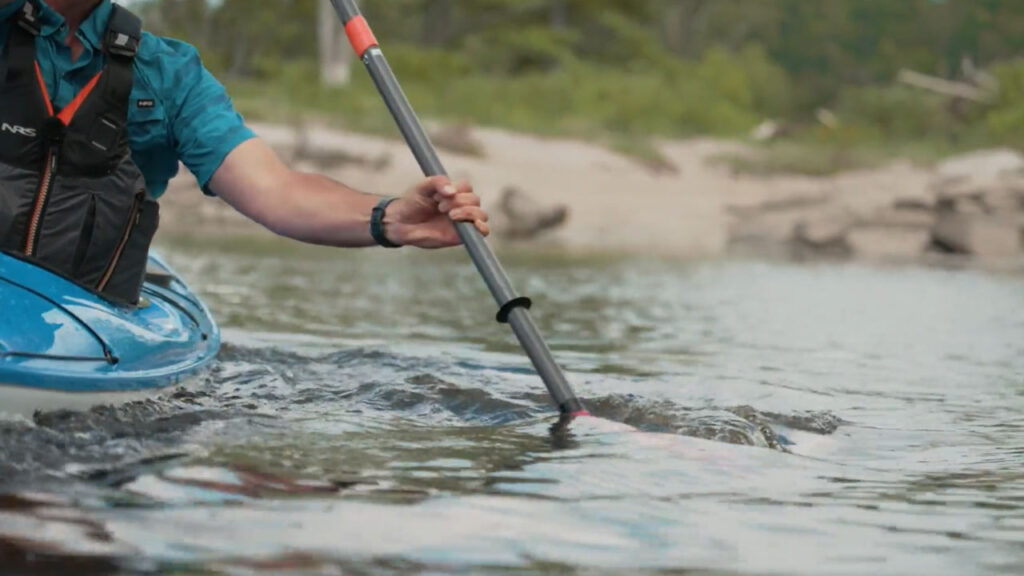
The basic draw stroke involves reaching out your blade to the side of your kayak, about level with your hip. You then need to put the blade fully into the water. After that, just pull your body and the boat toward the blade.
For the most effective stroke, rotate your upper body to face your active blade. Plant your blade completely in the water and get your paddle shaft as vertical as possible. Getting your paddle shaft vertical means pushing your top hand fully across the kayak. This can put you in a bit of an unstable position. So when learning the stroke you can lower your hand to face-level instead. With confidence, you can start reaching over the side of the kayak.
With your blade completely in the water, you will pull your lower hand towards the hip. Your top hand should stay fairly stationary during these motions to act as a pivot for the stroke.
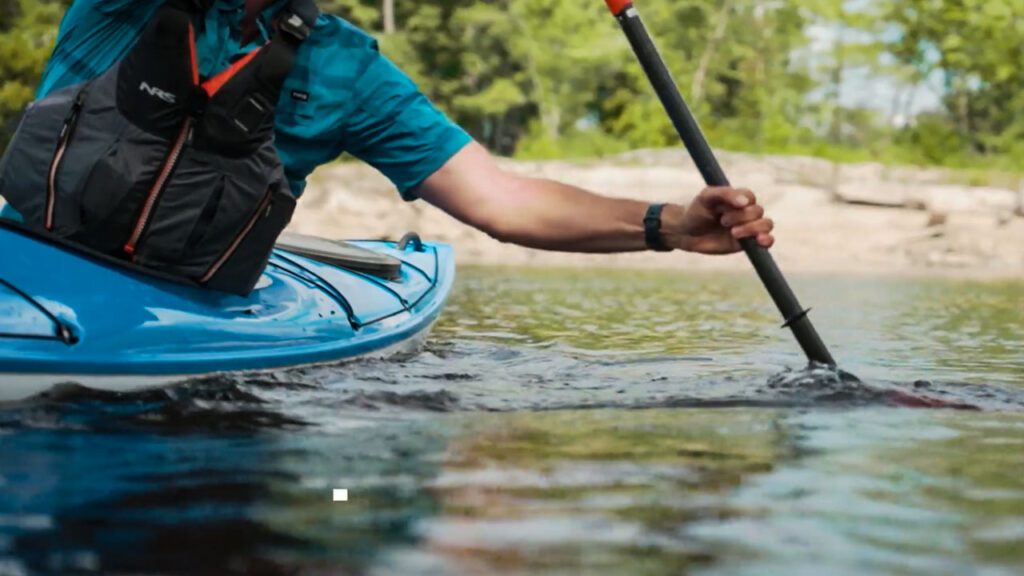
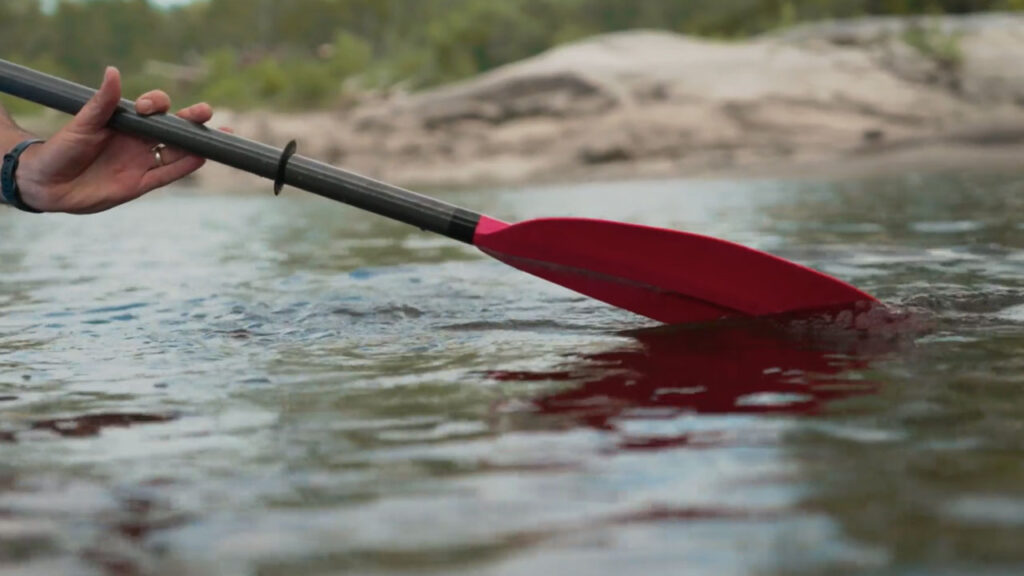
Before the blade reaches the side of the boat, stop the stroke, and slice your blade back out away from the boat. If you let the blade come right against the kayak it can get a little tippy.
A common problem people face with the draw stroke is that instead of the kayak moving laterally, it starts turning. This is because every kayak draws differently. If you find that the bow is starting to turn then it probably means you are drawing too close to the front of the kayak and vice versa. You have to find the happy medium – the hip is a good starting point.
Knifing Draw Stroke or T-Stroke
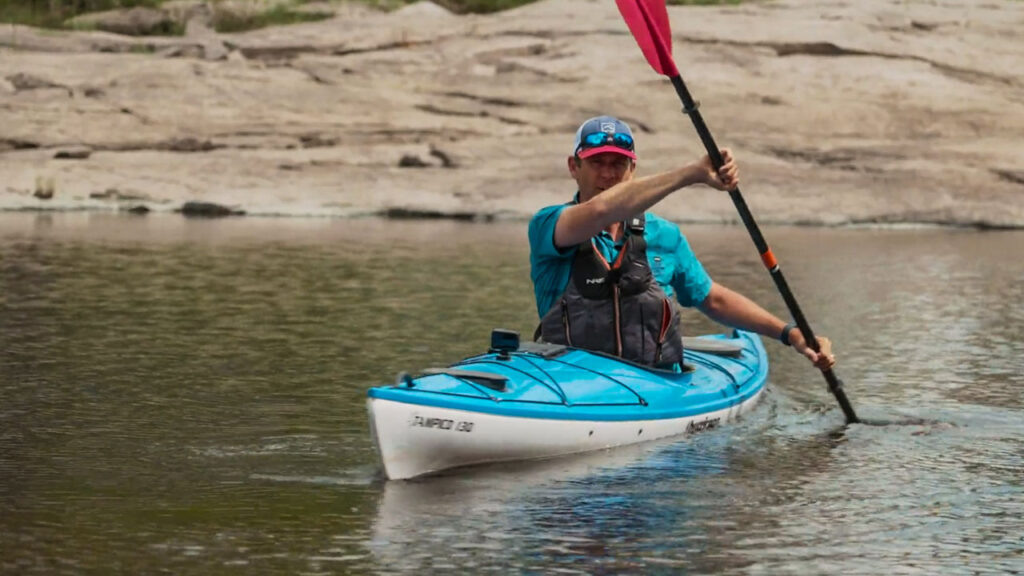
The idea of the t-stroke is that once the blade gets close to the side of the boat, instead of slicing it out to the back of the kayak, you keep it moving. To do this, once the blade is by the side of the kayak, curl your wrist forward and spin the blade 90 degrees. This lets you take the blade directly back to where it started to begin a new stroke.
The benefit of this is that you are in control of the kayak the whole time. Additionally, you can make strokes a lot quicker.

The Sculling Draw Stroke
This is the next evolution of the draw stroke. This is a stroke that I use all the time because it lets you fine-tune your position in the water.
It starts in very much the same way as the basic draw. You turn your head and body to face the active blade and, with your paddle shaft as vertical as possible, engage your blade in the water. This lets you provide the most lateral pressure on the water.
The difference here is the motion of the blade. Instead of just drawing the blade towards the hip, you make a sculling motion to apply steady and even pressure on the paddle. This bypasses the whole recovery phase that the basic and knifing draw deal with.
The key to the sculling draw is the motion of the blade through the water. The blade moves in a small path forward and backward along the side of the kayak, about two feet out from the side of the kayak.
The trick here is that the leading edge of the blade needs to be higher than the trailing edge. As I am pushing forward I will cock my wrist back a little, and as I am pushing back I will curl my wrist forwards. You can almost think of it like buttering bread. When you spread butter onto bread, if your knife doesn’t have a climbing angle on it you are just going to dig into the bread. And that is the same with sculling: the leading edge has to be higher than the trailing edge.
By doing this motion vertically you spread even pressure onto the power face of your paddle (the side of the blade you take a forward stroke with) and that draws your kayak sideways.
Top Tips for Draw Stroke
1. Be Subtle
You can change the angle of the paddle but these need to be subtle. If the changes in angle are not subtle you could effectively be just doing forwards and backwards strokes in the water!
2. Use Your Core
The paddle motion is not driven by your arms but by your core. The way you do that is by turning your upper body and keeping your top hand in a relatively stable position. You just need to move your paddle by rotating your upper body. The arms are only responsible for changing the angle of your paddle.
The reason to use your core is that the muscles in your torso and core are way more powerful than those in your arms. So it makes sense to harness that power!
The sculling draw stroke is a very effective way to travel sideways in the water. But it goes beyond that: by mastering the sculling draw you are improving your paddle dexterity. You are developing a better understanding of how slight changes in blade movement and angle in the water impact the movement of your boat. This comes into play in so many different ways as you progress as a paddler. So I would highly recommend that you take the time to learn the sculling draw along with other forms of the draw stroke for kayaking.
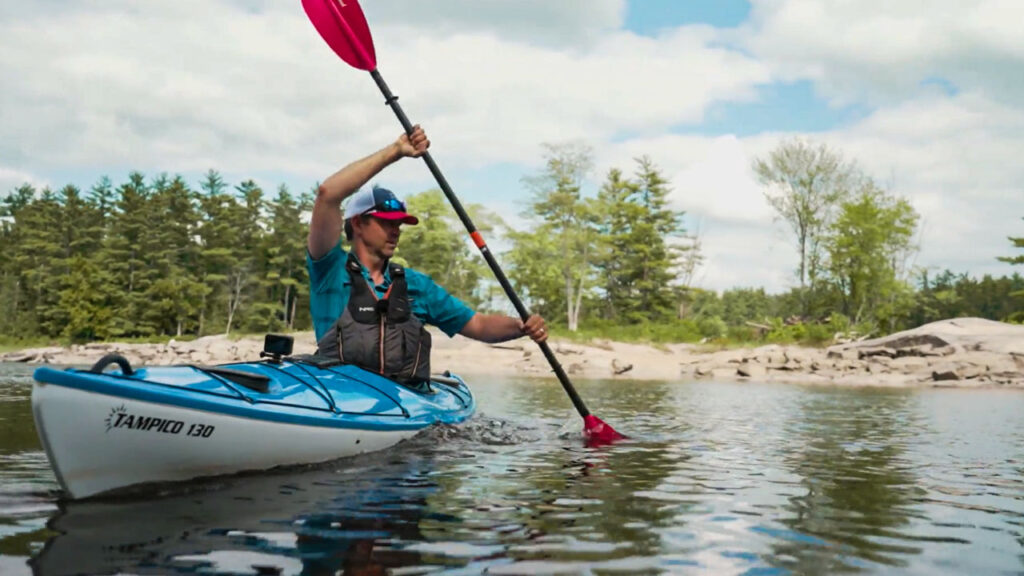
Introducing the Hurricane Tampico 130! For this tip I used the Tampico 130. This is a great thermoformed kayak. The thermoformed plastic is much lighter and helps for a much easier day on the water. I recently took this kayak to the Okefenokee and did a full in-depth review. Check out my Kayak Camping in the Okefenokee Swamp journal and my Review of the Hurricane Tampico 130

Kayak: Hurricane Tampico 130
Paddles: Aqua Bound Manta Ray Hybrid
PFD: NRS Odyssey PFD (Touring and Rec)
Clothing: NRS Short Sleeved Guide Shirt
Sunglasses: Wiley X

