


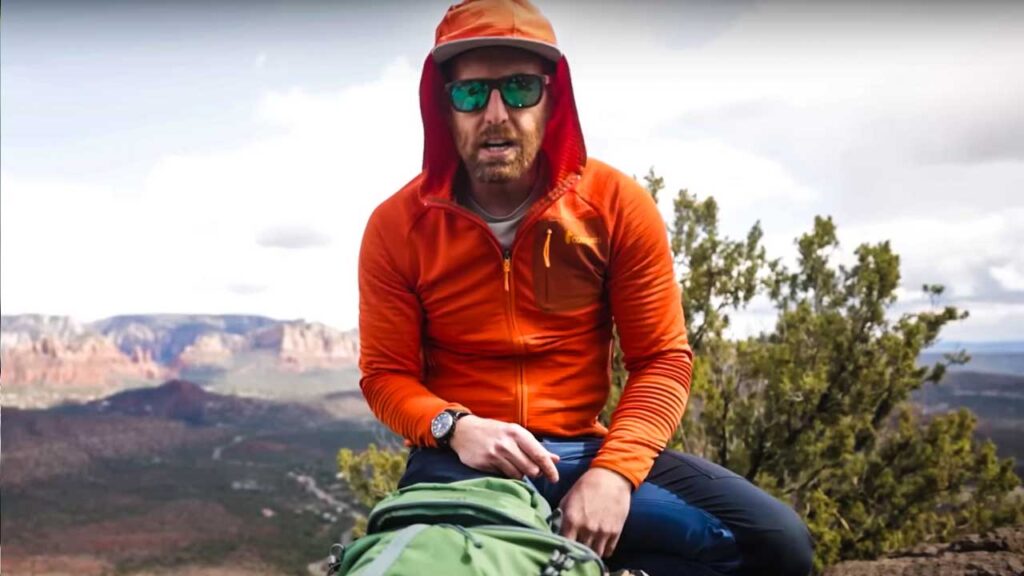
Hello to all you beginner hikers out there! If you are in the early stages of your adventures, or have yet to even take your first step onto the trails, or simply want to brush up on your basics, then this article is for you. Here are some hiking tips for beginners.
I'm going to tell you how to get started, what gear to consider, and some general tips to keep you safe and stoked for your upcoming journeys. Let's demystify this alluring, yet occasionally intimidating pastime so that you can get to it ASAP.
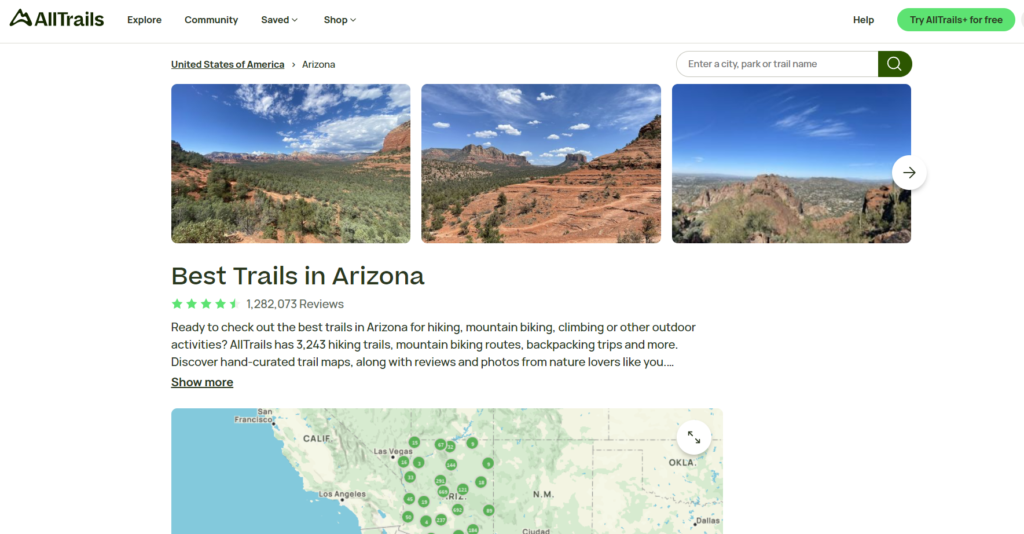
Search online for hiking trails
If you're reading this, then you're already at your computer or on your phone. So open a new tab and simply search for hikes in the area in which you live, or plan on visiting. Sites like AllTrails, onX, and other apps, maps, blogs, and articles can load you up with routes that are in your wheelhouse. You'll be able to make a selection based on how accessible the trailhead is, how busy the trail tends to be, what the intensity rating is, and how rewarding your peers rate it to be (Note: reading recent reviews can add a real-world perspective that the formal write up tends to miss).
For your first kicks at the can, I recommend starting small (perhaps just 1 or 2 miles) and building up from there. Aim to return feeling energized and confident so that you'll be hungry for more. Unfortunately, I see a lot of beginners bite off more than they can chew, perhaps setting out on a 6 to 8-mile trek, or picking a route that's too strenuous, and they end up with a bad taste in their mouth.
You may eventually deem blisters, bruises, cramps, and exhaustion as worthwhile tradeoffs, but it's important to experience the beauty and health benefits of hiking first. So just like with any new skill, if you gradually increase your commitment over time, you'll be much more likely to stick with it in the long term.
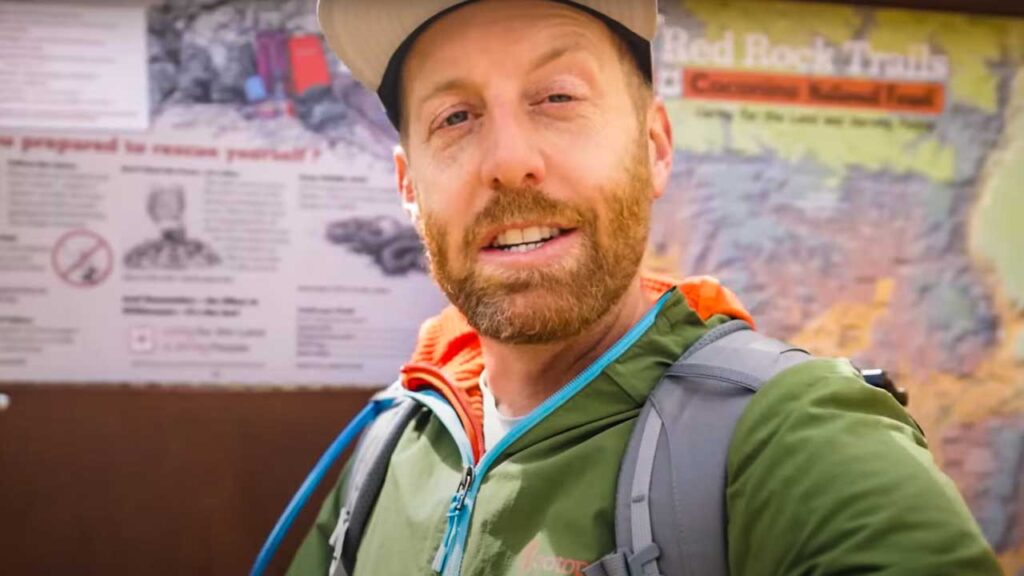
Check the trailhead signs
Before leaving the parking lot, I like to take a gander at the trailhead postings. There is usually a map of the area, which is a great way to remind yourself of the distance, elevation, general route, and get a sense of the broader area – sometimes with offshoot trails, or interesting landmarks becoming visible that you hadn't previously considered.
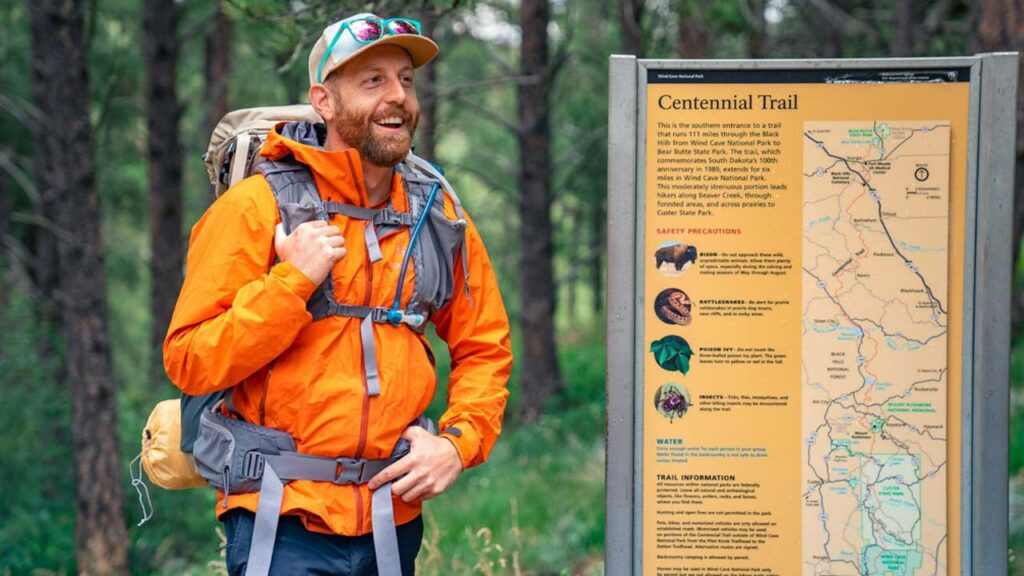
Aside from directions, there is often additional information about the flora and fauna in the area. Knowing what's out there can enhance your experience as you spot those same species in the real world. And of course, there may be some wildlife-related safety tips (i.e. don't touch this, don't feed that, stay on the trail, carry bear spray, how to handle certain encounters, etc.). There may also be suggestions on how to sustainably traverse the ecosystem, with highlights about sensitive regions that may not be intuitive. For example, on my last hike there was a request to avoid trampling a type of organism-rich soil.
And finally, since the terrain and climate is always changing, there may be temporary notices about flooding, erosion, downed trees, snowed-in passes, closed huts, trail detours, and other things of that nature that may not have made it onto the park's website or that trail blog you recently read.
Pro tip: Use your phone to take pictures of the map and other notices to use as a quick reference along the way.
Day Packs for Hiking
I talk a lot about backpacks on this site. And while a high-tech, comfortable trekking bag can take your adventures to the next level, most people will only use those on special occasions. A day pack for hiking, on the other hand, is a no-brainer purchase that will serve you on hundreds of hikes, and can double as a school or work bag on your regular human days.
I recommend getting something simple, and with a volume between 20 – 30 liters. Keep in mind that 20 is sufficient for most adventures, and 30 is for accommodating superfluous gear (like camera equipment, a little painting set up, or some romantic picnic goodies), and clothing to combat capricious weather (like if you were hiking through the mountains, or somewhere such as Iceland, for instance).
If you're an open book in terms of purchasing a day pack, then check out my go-to brand and sponsor of BackpackingTV, Mystery Ranch.
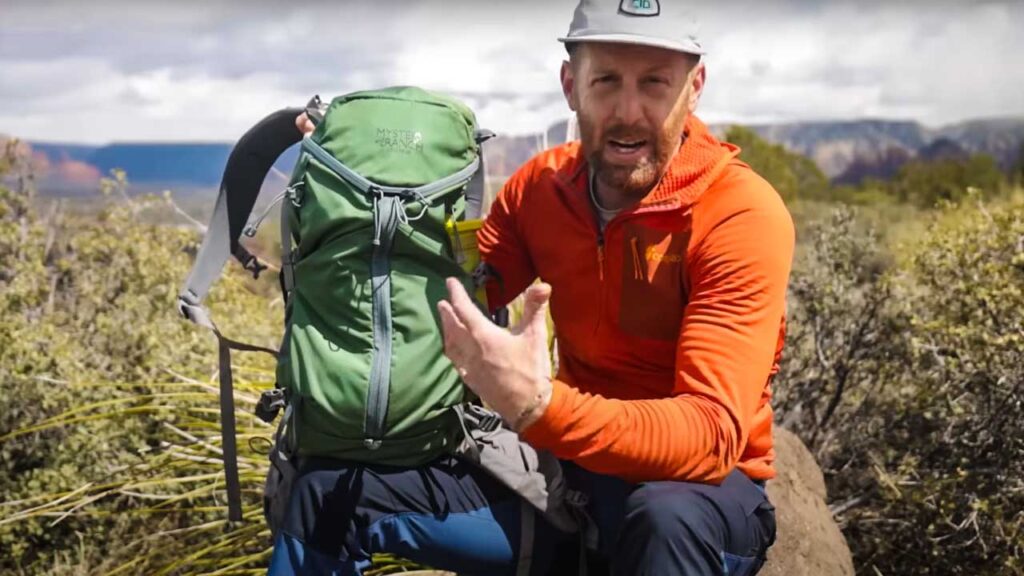
Mystery Ranch Coulee 20 Day Pack for Hikers
If you're curious what day-hiking backpack I'm using as of late, it is the Coulee 20 from Mystery Ranch. I mentioned a second ago that 20 to 30 liters is a good volume range to shoot for, and the way this backpack is designed makes 20 liters plenty for me. The dual mesh side sleeves allow me to stash my Geopress water purifier on one side, and my tripod on the other.
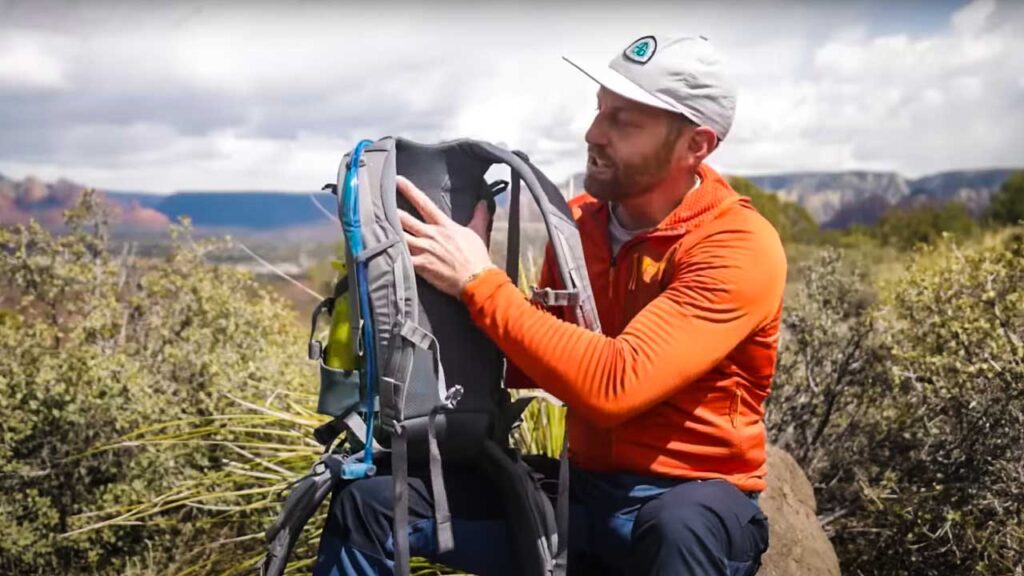
The toploader is perfect for my snacks, and the internal compartment was able to accommodate 3 liters of water, a puffy jacket, and all the standard essentials that I'll highlight shortly. But what sets this bag apart from your average sack is its adjustable yoke and torso. This allows for a highly-customizable fit (since us hikers come in all sorts of shapes and sizes).
Having a comfortably fitted backpack really becomes noticeable after several miles. Even if your load feels manageable in the parking lot, those pounds can rear their true face once the sweat and fatigue kick in. The Coulee stays with my body as I skip over the trail, and evenly disperses the weight, meaning I'm motivated to stay out there for longer.
What to pack hiking
With a 20 liter backpack, you'll have enough room to carry extra water, snacks, a headlamp (even if you plan to be back before dark), some emergency supplies (first aid kit, one of those fancy tin foil blankets, water purification tabs, “just in case” layers such as gloves, beanie, rain jacket, down jacket, etc.), sunscreen, sunglasses, and even a long sleeve to cover your skin during peak UV hours.

Bugspray can also come in handy, depending on where and when you hike. And it is always a good idea to have a map, compass (and/or another navigation device), a knife/multi-tool, and matches/lighter.
These are the basics that will serve you across a range of environments. Beyond this, use your best judgment based on the terrain, the weather, and your own body, experience, and comfort level. Some sources will encourage you to carry an emergency shelter. I certainly can't argue against this, but full disclosure, I have yet to bring one along on a single day hike.

Food and water for hiking
Initially, it can be difficult to estimate how much fuel and hydration you will actually need on a hike. If a hike is judged to be 3 hours long, don't just consider what you might normally take in during that time. Remember to factor in the extra calories you'll burn, the fluids (and electrolytes) you'll sweat out, and build in a safety buffer in case you end up being out there for longer than intended.
Water, in particular, is one that you don't want to misjudge. If worst comes to worst, you can go hungry for a while. But hydration is non-negotiable. Beginners may be surprised to see that single-use water bottle that was purchased on the drive out completely evaporate after the first sun-soaked hill. If you're in a hot, dry climate, then it's especially important to carry at least 2 liters. And if you're somewhere with flowing freshwater, then you can strategically underpack, as long as you also bring a purifier, or tablets to treat it with.
How to handle wildlife
Earlier I mentioned how the trailhead signs can pack some helpful suggestions that are specific to that area. But in general, simply let all wildlife be wild, and you will avoid causing problems for yourself, and for the non-human inhabitants of the land. As harmless as it may seem, this means not feeding squirrels. And as obvious as it may seem (to some), this means not approaching animals for a photo, or even worse, to try and pet them.
Every year at least a few tourists are trampled or mauled by a bear, bison, or other large mammal because they purposely approached them. There seems to be a growing disconnect between city-slickers and the reality of nature. This illusion is only exacerbated by having a phone in hand, or being part of a crowd gathered beside a highway. National parks are not petting zoos, and even if you feel like you have a spiritual bond with the creature, it may have a different idea when put on its heels by a social media influencer. Please, just give wildlife the space it needs – even the cute, cuddly stuff.
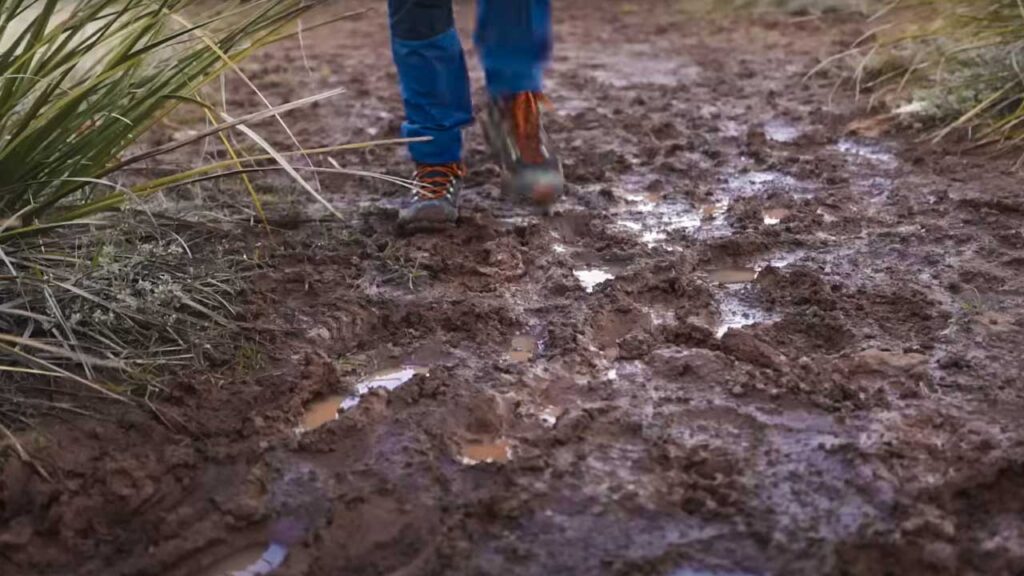
Stay on the trail
Even if there's a field of flowers in the distance, even if there's a muddy section before you, even if there is an obvious shortcut on a switchback, do your best to stay on the blazed trail. Every time someone strays from the path, it further impacts the ecosystem.
This principle also plays into the last point about being cautious around wildlife. It is much easier to spot a snake on the open trail than it is wading into the grass. The same thing goes for potholes and other ankle-busting hazards. Staying on the trail is the safer approach, and pays respect to the beautiful spaces that we chose to trod.
Another simple safety protocol
In the early stages of your adventures, you may choose a simple route in a familiar area. Nonetheless, make sure you tell somewhere where you're going, what your plan is, and when you expect to be back. That way, if you get turned around, or sprain an ankle, somebody will have your back. This might save your life, and in the process it will also save the authorities from spinning their tires in a lengthy, aimless, and expensive rescue operation.
You won't have to look far for stories of hikers getting into trouble on short, straightforward hikes. Odds are you will be totally safe, but sending your mom or buddy a text is a free and painless safety net that should always be in place.
So there you have it. I hope these tips add to your confidence and enthusiasm for day-hiking. While there are some important steps to ensure a successful journey, none of it is rocket science. Just follow this simple checklist, don't overthink it, and go bank your first trail. Enjoy the upcoming peak-season, and as always, head on over to BackpackingTV for a whole catalog of backcountry tutorials, gear reviews, and suggested adventures.
For more information on the larger options, check out my Bridger 35L Backpack Review, Bridger 65L Backpack Review, and Kristi’s Women’s Bridger 55L Backpack Review. And for more content on all kinds of gear and best-practices in the outdoors, head on over to BackpackingTV.

Gear used in this review includes:
Backpack: Mystery Ranch Coulee 20
Jackets: Cotopaxi Cielo Rain Jacket,
Fleece and Layers: Cotopaxi Otero Hooded Jacket
Pants: Fjallraven Keb Trousers
Sunglasses: Wiley X sunglasses

