


Your backpack is the foundation of all your hiking adventures. If it's well fitted appropriately-sized, functional in a way that's specific to your needs, it can feel like a welcomed extension of your body. The backpack gives you total freedom to explore the outdoors.
If you get distracted by needless bells and whistles, buy solely based on brand, or get something that just isn't right for your body and style of hiking, then your choice can become an annoying hindrance. The backpack will probably collect more dust in the closet than memories on the trails. So let's go through some key categories so that you can get a jumpstart on how to choose a backpack.
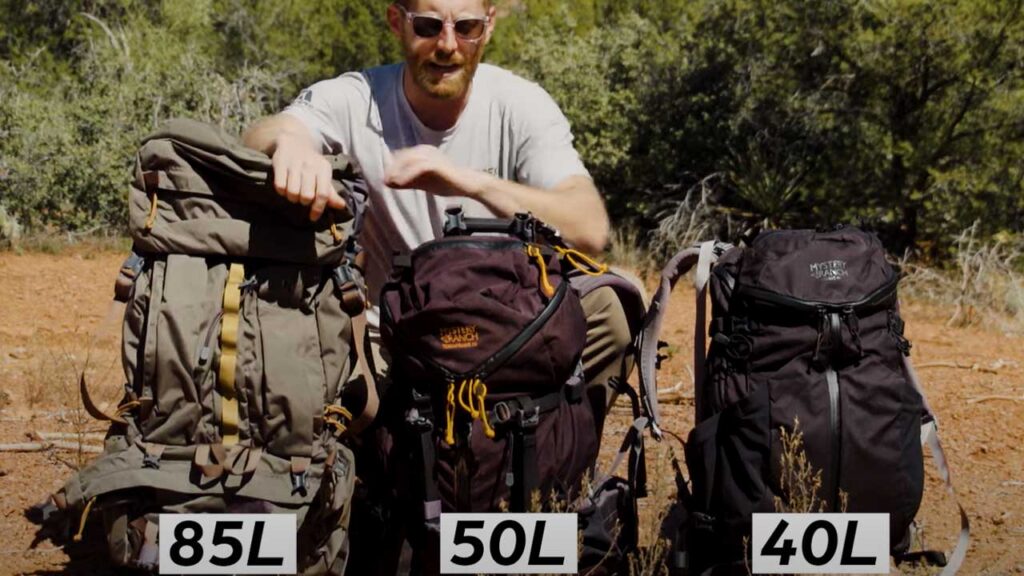
What size backpack?
One of the biggest mistakes that I made when getting started in my hiking career was buying a backpack that was way too big. My inner explorer saw ground-breaking expeditions on the horizon. This led me into the straps of a 115 liter trekking bag. Looking back now, I wish I started at about half of that – in the 50 – 65L range. This is what I recommend for beginners and all casual, multi-day backpackers.
50-65L for most beginner multi-day backpackers
A pack of this approximate size will be perfect for moderate adventures that don't involve any special equipment. Gear like cameras, climbing equipment, additional safety gear, etc. can add substantial weight. A bigger backpack than you need will mean you'll just fill it with useless extra stuff. If you do still have the discipline to pack sensibly and pick a large volume backpack, then you'll have dead space in your bag. This will take away from the overall fit. Adding sloshiness to your load as you wander about the trail.
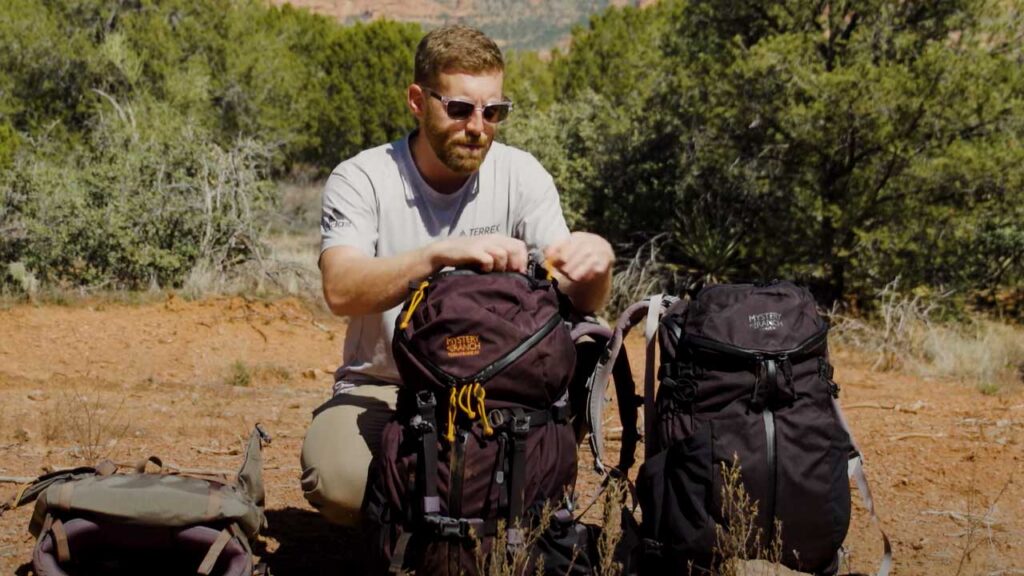
What should I look for when buying a backpack?
Every brand is a little different, and even backpacks made by the same manufacturer will address varying goals. Some packs specialize in carrying heavy loads, some focus on comfort, and others will prioritize weight over everything else. What will work best for you will depend on your own goals and past experiences.
Heavier loads consider the frame
If you are a photographer, rock-climber, or military personnel, you may want the most hardy thing out there. Pick something with a frame. If you are sick to death of the aches, pains, chaffing and bruises, then focus on carry comfort.
Ultralight backpacks
And if you've been bitten by the fastpacking bug, then you'll probably want to seek out an ultralight backpack. Personally, I appreciate organization over everything else. I like a backpack that is cleverly designed. I like multiple access points so I don't have to pull stuff out from the top just to reach a single item further down in the bag and a slew of compartments and pockets.
Zippers vs no zippers
Sure, the extra zippers and materials add weight, but that's a trade-off I'm happy to make. If you were to watch me comb through the backpack section of an outdoor store, you'd see me exploring the top-loader compartment. I would be fiddling with hip belt pockets and flaying the front of the bag open.
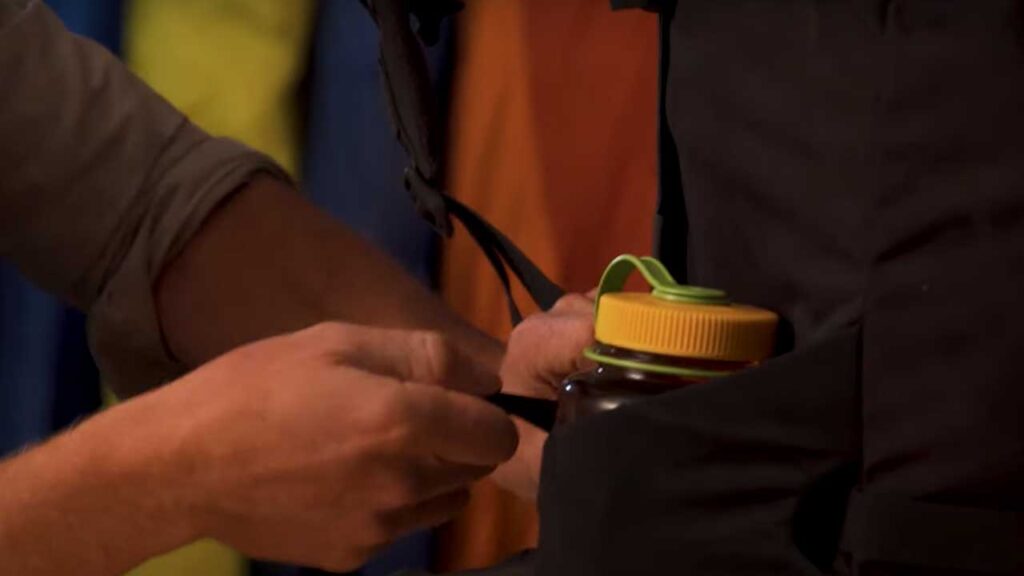
Where do you carry water in a backpack?
One thing that's easy to overlook when buying a backpack is how nuanced the water storage options are. If you use Nalgene bottles, test to see if you can actually fit it in those side mesh pockets once the bag is full (you might be surprised). You may want to balance the pack with a 1-liter bottle on each side. You may prefer to use one sleeve to stow your trekking poles, or your tripod (for all my fellow photographers).
Internal water bladders
Another go-to water strategy is to use an internal bladder. A lot of backpacks have an internal sleeve for the tube. This is great because it keeps the heaviest thing in your bag the closest to your back. Remember to look for a hole for the straw to slip through. Look for a snap or elastic on one of the shoulder straps to anchor the straw in place (it's not fun to have it flapping about as you hike).
What are the different straps on a backpack for?
Since I tend to like bags that are a little bit heavier, I also pay close attention to the straps. Straps are what will distribute the weight and hopefully, make the hiking experience more comfortable. For example, some ultralight backpacks may feel slick in the store, but once you load that thing up and pound out some miles, the thin straps rear their true nature. I have to have beefy shoulder straps to help cushion the blow.
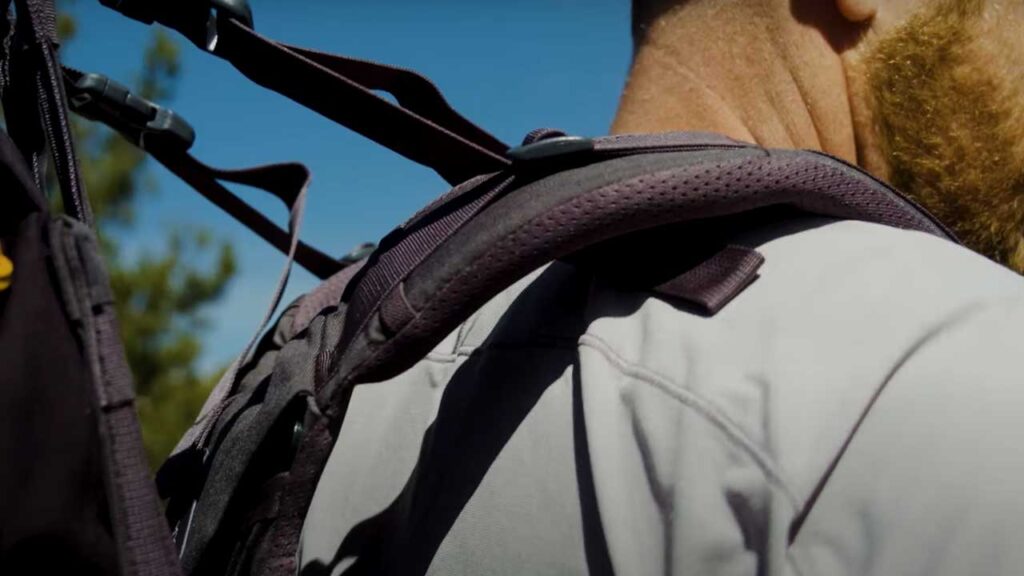
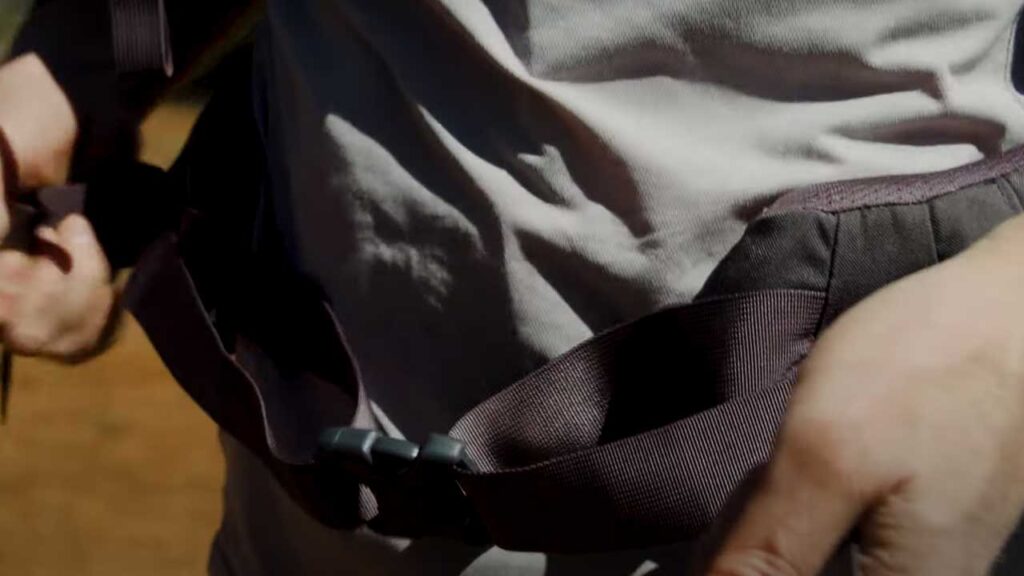
Hip Belts are Important
The same goes for my hip belt. I want it to be generous with its padding, since it will carry the brunt of the bag's load. If you skimp on the hip belt cushioning, then prepare for bruises and chaffing on your hip bones. Contrary to popular belief, the chest strap doesn't actually influence the weight distribution. It does adjust the fit of the bag, by changing the distance between your shoulder straps.
The best possible backpack will be different for everyone because we all have different goals and a variety of needs. Rather than getting caught up in the idea of a certain brand or type of bag, take a second to consider what you care about most on the trail. Understand that every advantage will come with a compromise.

Gear used in this video includes:
Backpacks: Mystery Ranch Terraframe 50, Mystery Ranch Terraframe 65, Mystery Ranch Bridger 55, Mystery Ranch Bridger 65.
Sunglasses: WileyX sunglasses
If you're interested in diving deeper into specific options, check out my Osprey Atmos vs Gregory Baltoro vs MR Bridger article, or peruse the various reviews on BackpackingTV.

