


Selecting light action cameras and capturing compelling footage
If a paddling trip is worth doing, it's also worth capturing on video and sharing on YouTube. In fact, filming can really add an interesting layer of excitement to your adventure. There are times when I don't want the added responsibility of capturing epic shots and managing the equipment, but more often than not, I genuinely look forward to filming my outings.
I've learned some, well…expensive lessons, but also many truly valuable tips that I'm happy to share with you. That's what we're going to look at today – how to self-film your paddling adventures. I'll be discussing how to choose the right camera, how to mount the cameras, technical settings, and lastly, important audio considerations.
Step 1: How to choose a camera for YouTube videos
The most readily available option for filming your trip is your phone. The cameras on the latest smartphones are nothing short of amazing. But as the technology gets better and better, the price goes up in tandem.
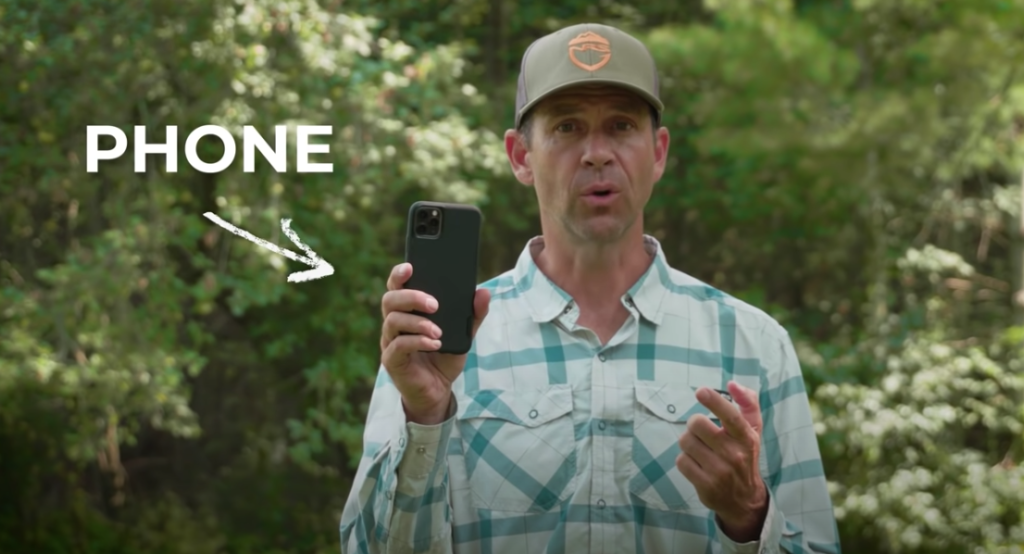
Remember that if you lose your phone on an adventure, you lose not only that substantial investment, but all of the data that hasn't been backed up (i.e. pictures, contacts, files, etc.).
For that reason alone, I do not film my adventures with a phone. Instead, I use an action camera. Even the best of these are still a lot cheaper than your modern cellphone.
What happens when I drop the camera in water?
Take a moment to acknowledge that you WILL lose a camera (or multiple) if you commit to filming your waterbound projects. IT'S INEVITABLE. Flashback to my 2020 outing on the Rideau River when my tripod decided to practice its diving skills off the nearby dock. Top marks, but it still stings… An action camera is a lot less painful to lose than an expensive rig or stored memories.
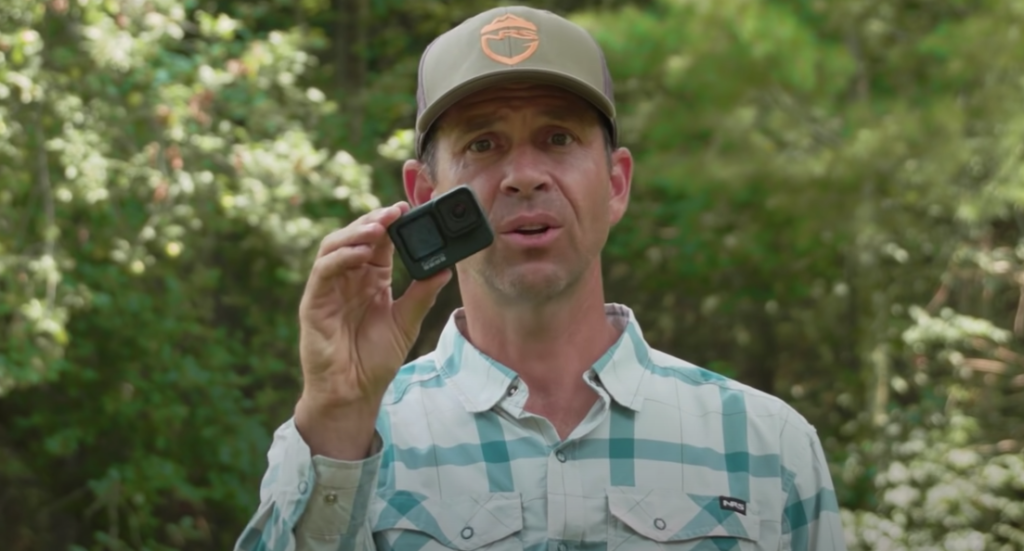
There are lots of action cameras out there these days, but in my opinion, GoPros are hands down the best. I'm 100% not sponsored (although a man can dream…) – they're simply my favorite. They're the pioneers and they keep pushing the boundaries with what you can do with such a small camera.
So whether you're using a GoPro or any other action camera, the first box to check before filming your paddling adventure (kayak top drumroll please…) is waterproofing. This is absolutely essential before you go splashing around. Thankfully, the GoPro 7 through 10 are waterproof by design. You don't need an additional case like you did with earlier models, and like you still do with many other action cameras.
GoPro Image Stabilization to stop the bounce
The next point of consideration is image stabilization. As you can imagine, your kayak (and therefore, camera, however it's mounted) will be bouncing and pivoting every which way. Image stabilization ensures that your captured footage stays steady throughout. You don't want to log hours, or even days of footage, only to realize back home that your magical adventure is more unwatchable than the Bourne Identity action scenes.
The GoPro models 7 through 10 have this digital smoothing built right in and it only gets better with each generation. The latest models (9 and 10) also have horizon leveling, which ensures that no matter how far the kayak tilts, the horizon stays flat.
Voice activation with GoPro
Another handy feature to embrace in your camera selection is voice activation. A lot of times the optimal camera mount on your boat isn't within reach from your seat. And so with voice activation you can just say, “GoPro, start recording,” or “GoPro stop recording,” and that takes care of business. You can even tell the GoPro to turn off, which will save battery life when you know you don't need to film for a bit. Ever since the Hero5 was released in 2016, this has been a feature of GoPro models.
Framing your camera shots
Framing is yet another valuable asset. Can you guess what action cameras might have this nifty asset? That's absolutely right. The GoPro 9/10 has an added screen on the front of the camera. So when you have it set up in selfie mode, you can see what the framing looks like. If your camera of choice doesn't have this feature, make sure to recruit a friend to spot you once the shot has been established.
Otherwise, you'll once again film loads of potentially epic content, only to realize in the editing phase that the top of your head is cut off, or you're mostly seeing sky. Another option to mitigate this is to wirelessly sync with your GoPro. This will allow you to see the framing from your phone. I personally prefer relying on the front camera screen, as syncing with your phone wastes time and the bluetooth connection tends to drain the battery pretty quick.
Slow motion is cool
Now let's talk about ssllllloooooooowwwwwwwww motion. A lot of action cameras have this feature so this is more a tip on how to use it, namely, sparingly! Slow motion is such a cool feature that you're going to want to use it all the time. Even watching the water drip off your paddle can be captivating. But moderation is key. I recommend using it only when you've got particularly active paddling going on. Otherwise, it gets old, real quick. Think dodging bullets, not just coding the Matrix.
Hindsight is helpful
A final feature worth noting, once again from the GoPro 9 and 10, is hindsight. This allows you to log up to 30 seconds of footage before you hit the record button. When you're out in the wild, a lot of exciting things can happen without notice. Hindsight is particularly nice if you're fishing. You don't want to just keep recording yourself casting again and again. What you want is the catch. So if you have your hindsight setting on, just hit that record button (or call out to your GoPro) when you snag a beauty and it'll retroactively capture the moment of glory.
If you look for the last couple generations of GoPro, you're ensured to get all of these spectacular, filming features.
Step 2: How to mount the video camera
This is where the film making starts to get really fun. There are an endless amount of options and camera-mount accessory companies (Yakattack, Railblaza, and RAM, to name a few) that have emerged to offer additional advantages
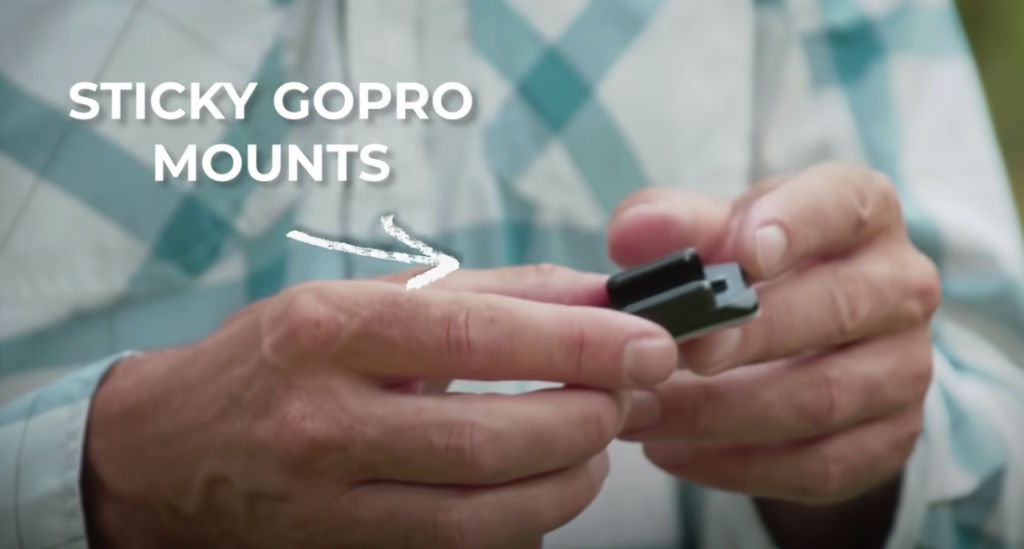
GoPro sticky mounts
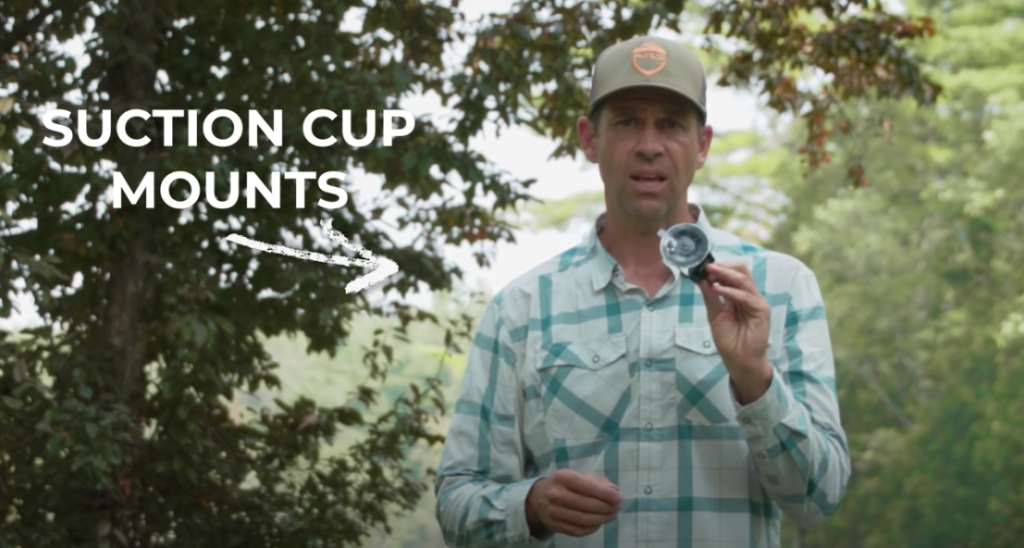
We'll kick things off with the simplest solution – sticky GoPro mounts. As long as you have a flat, smooth surface, you can stick these suckers anywhere and the GoPro will snap right in. Similarly, there are clip mounts. These are once again great for just about anywhere on the kayak where they can simply pinch into place. Some spots may allow the clip to wobble more than others, but that's okay if you have a camera with image stabilization. It doesn't need to be rock solid for the purpose of the video, it just can’t fall off. Furthermore, there are suction cup mounts.
Although there can be some cool applications for these pieces, I wouldn't recommend them on a kayak. Unfortunately, they're prone to failure. If you do choose to use them, only do so on a perfectly clean, smooth surface. Even with an optimal mount, make sure to attach a security line (i.e. a secondary rope tied around the whole mount and anchored to your boat).
Chest mounting the camera
The final, basic solution, is to turn the attention away from the kayak and instead, mount the camera onto you. There are head straps that act in the same way as a headlamp, but I've found the best views tend to come from the trusted chest mount. An additional benefit is that chest cams do a great job of picking up your voice. So if you're planning on doing some commentary, this is a mount to consider.
Mounting accessories
Upping the ante a bit, you can start to explore a variety of camera mount accessories. These will readily attach to gear tracks on your kayak. A lot of fishing kayaks, and some recreational ones, already have tracks installed. Those are really helpful but they may not be exactly where you want them. And, of course, it's common for your kayak to not have any tracks provided. Fear not, in either case, you can mount gear tracks very easily, to any kayak, almost wherever you desire – at least, anywhere that has a good flat surface. If you'd like to learn more about that type of project, here's a link to my YouTube video.
If you go this route, you'll be able to expand your filmmaking in all directions. A quick twist here, a little loosen and bend there, and you'll have access to 360 degrees of angles. Gear track mounts are also typically reachable from your sitting position, allowing for on-the-fly adjustments.
Just watch that if you mount it in the front, it has to be far enough forward that the camera doesn't get in the way of your paddle stroke. If it's in the back, then you're much more in the clear, you just have to make sure it's high enough so that you're not just filming your seat. A slick, over-the-shoulder shot goes a long way.
You can also extend the mount over the water so it looks like a friend is taking the shot. And don't forget, if you have that waterproofing taken care of, then you can even dip the camera below the surface (in clear conditions) to get cool, underwater shots as your paddle blade moves through the water. Everything comes with a trade off though. The more you extend your camera mount pole, the more bounce you're going to get. So if you want to get creative with the extended angles, make sure you invest in a camera with that image stabilization feature.
Mount the GoPro on a tripod on the shore
A final mounting option to keep in mind is to set up a tripod on the shore and get some footage of you paddling by. This is where that voice activation feature really comes in handy. As you're approaching, just call out “GoPro, start recording,” and you'll have shots of you moving through the naturescape to mix in with your kayak mounted scenes.
The key is to get out on the water and experiment with all kinds of different mounts and shooting styles. If you want some extra inspiration, check out a few videos from Gatewood Brown – another YouTuber with excellent self-shot kayaking adventure films.
Step 3: Camera settings for YouTube videos
There's no one-size-fits-all for camera settings. It simply depends on what you intend to do with the footage and what kind of equipment you have in your editing bay. For example, if you have a powerful computer then you can probably shoot most of your stuff in 4K video resolution. Not only will this high-res setting give you wonderful images, it will also allow you to zoom in without having things look pixelated.
4K video files can be a beast to work with though. They might substantially slow your computer down if you don't have something that's equipped to handle that kind of video processing. What I often do, and therefore advise other prospective filmmakers to do, is to shoot in 2.7K. That's slightly higher resolution than your standard 1080 HD and leaves the files more manageable to work with. You'll still be able to crop the images or zoom in a bit, as well as level the horizon, without losing much quality.
Frame rate or how many images each second
The next setting feature to consider is the frame rate (i.e. how many images the camera captures each second). The typical frame rates in North America are: 24 FPS, 30 FPS, 60 FPS, 120 FPS, and 240 FPS. A standard video that you come across is usually either 24 or 30 frames per second. The lower frame rate settings are meant to give more of a cinematic look.
Action cameras aren't really designed to capture this kind of picture so I don't think it's important to use that 24 or 30 FPS setting. I prefer to film most of my stuff at 60 FPS. This allows me to slow certain shots down in editing to 50% speed (i.e. 30 FPS) and I get super smooth, semi-slow motion.
What perspective to use
Another decision you'll have to make is what perspective to use. Does your vision call for narrow, linear, wide, or with some cameras, super-wide or “superview.” I find narrow to be too small of a frame unless you're filming something far away, which isn't typically done with action cameras. I usually use linear or wide perspectives.
In my experience, the super-wide option tends to distort things, leaving them with an unnatural look. If the camera is mounted close by then I might want to get some peripheral views in the frame, in which case I'll use wide. If the camera is mounted at the end of your boat then I'd be more inclined to use linear. I'll leave it up to you to play around with it.
So much of filmmaking is about how much time you want to spend experimenting with shots, settings, and investing in the post-production phase (i.e. editing footage, manipulating color, adjusting the image, etc.). Just don't let the mountain of options deter you from making your video in the first place. Most people just like to have fun grabbing footage of their weekend adventures and tossing it together with a basic editing software. That's a great way to bring your family, friends, and subscribers along for the ride.
Step 4: Audio considerations
This is first and foremost an optional consideration. You may decide that you only want video of your paddling adventure, and that’s totally fine. But, if you do want to capture audio then there are a few things to keep in mind, and this is where the stark distinction between amateur and professional filmmaker emerges.
Quality and distance of microphone
The sound that you capture directly from an action camera is only going to be of reasonable quality if it's within arm's reach. Any further than that and you'll get too much ambient sound. Wind, in particular, is the greatest sound killer. GoPros 8 through 10 have what's called a media mod. You'll be able to spot this right away because it has an external, shotgun type mic. This does a little better job of picking up audio from in front of the camera, rather than everywhere around.
Lav mic
But more importantly, in my experience, is that the media mod allows you to configure an additional, wireless, lav mic. This lav mic is going to raise your audio levels tremendously, but make sure to splurge on the furry windscreen. They look funny, but they do an incredible job of reducing wind noise, because it doesn't take much more than a breeze to turn your audio into mush. My favorite lav mic of choice, the Rode Wireless Go, comes with a windscreen accessory. Units like this will clip on to your lifejacket, or any top you’re wearing, and they deliver exceptional voice audio.
Final thoughts and tips about filming
From choosing the right camera to exploratory mounts to external microphones and all the settings in between, there are endless ways to scratch your creative itch and improve the quality of your projects. Each of these upgrades will have to be factored into your budget but in the end, how can you put a price on memories? I hope these recommendations get you excited to film your next, epic, paddling adventure.


