


Having a backpacking packing list can be handy when you are preparing for the trip. Have you ever laid out all of your gear for an upcoming backpacking trip, and then turned to your pack and wondered how it could possibly all fit?
Maybe you don't really need to bring that fat novel, or the bottle of wine, but the list of actual essentials is still pretty long. So I'm going to give you some tips on how to pack efficiently, ensuring that your load is easier to carry and that everything is logically accessible.
What size pack do I need for a 2-3 day hike?
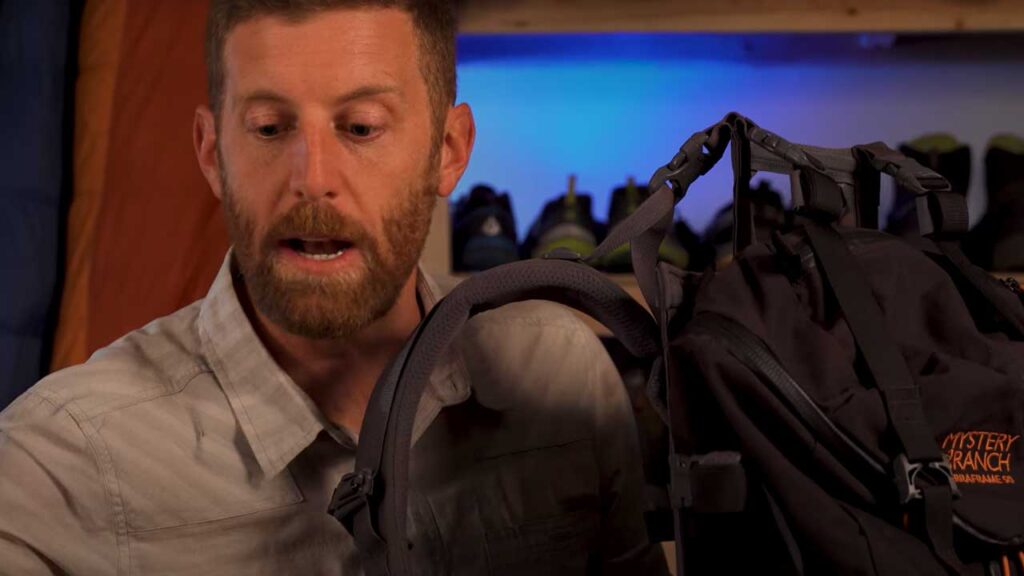
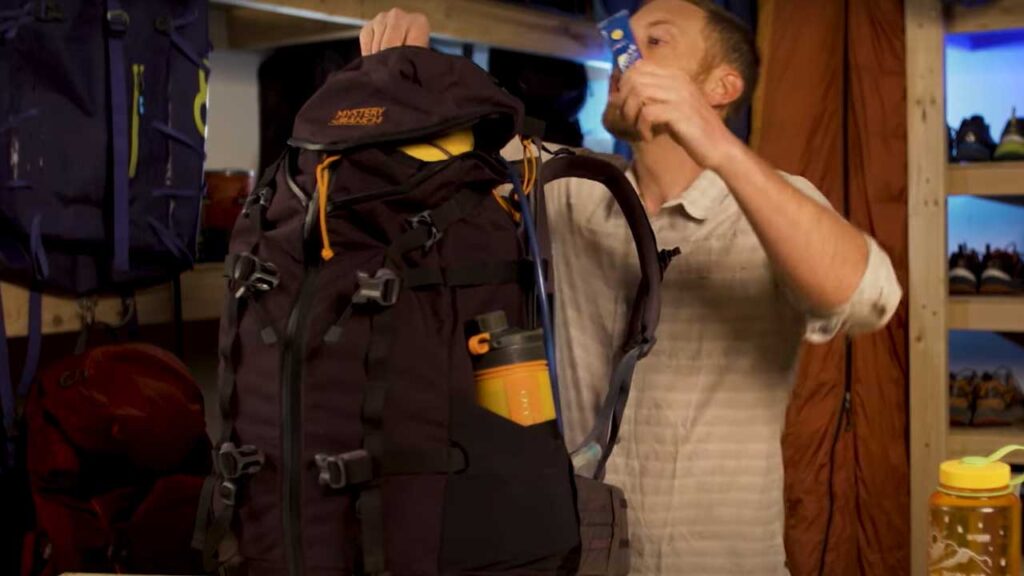
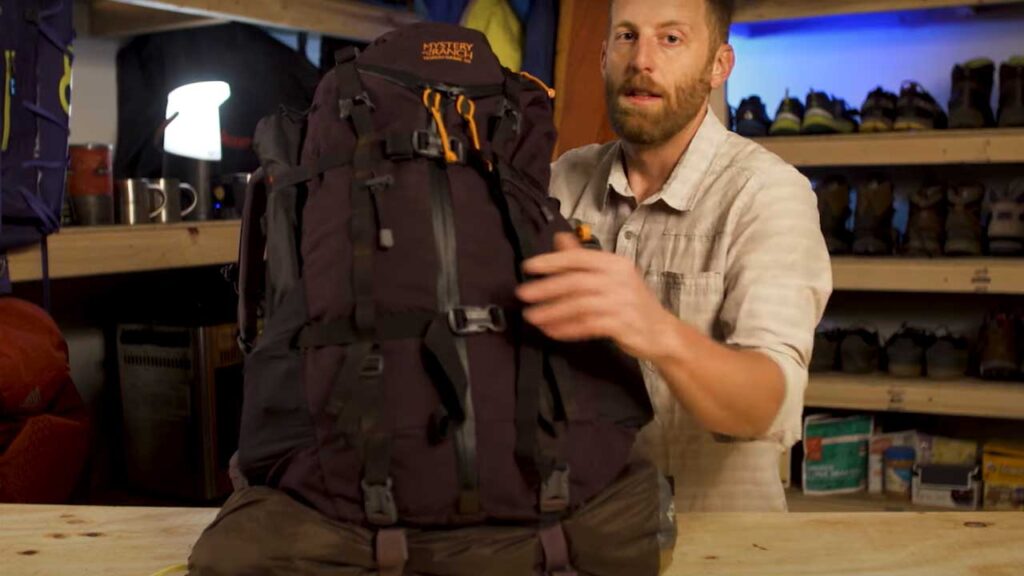
For this packing tutorial, I'll be using my Mystery Ranch Terraframe 50 backpack as a reference, and filling it with my standard checklist of items for a 2-3 day hike. Generally speaking, I think a 50 – 65 liter pack is a good size range for this kind of trip.
Some fast-packers could make do with less, while folks heading out on longer expeditions would need to upgrade to a bigger backpack. I like to have everything tightly packed, as this minimizes the sloshing that comes from a loose-fitting bag.
To learn how to fit a backpack read this article: “how to properly fit a backpack for hiking“.
Backpacking Packing List of Gear
- Sleeping Bag
- Water Bladder
- Sleeping Pad
- Stove (with fuel or other small items packed inside)
- Food
- Clothing
- First Aid Kit
- Drybag (perhaps with a warm layer inside)
- Hygiene Kit (w/ toilet paper, Ziploc bags, toothbrush/toothpaste, hand sanitizer, etc.)
- Side Sleeve Water Bottle(s)
- Toploader Items
- Trekking Poles
- Tent
Where do I put my sleeping bag in my pack?
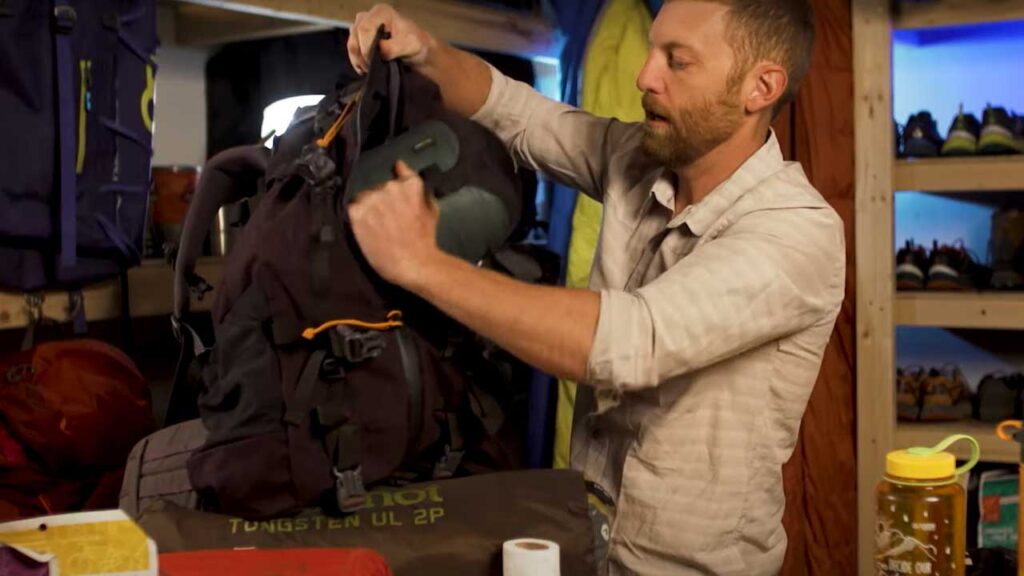
I always begin the packing process by stuffing my sleeping bag at the very bottom of my backpack. It's bulky, and a bit heavy, which is what you want lower in the pack. This creates a good base to add items on top of and it forms a squishy buffer so that when I plop my bag down on the ground, nothing is at risk of being damaged by the impact. For similar reasons, I like to add my sleeping pad/mattress next.
How do you pack a hydration bladder?
I've made the mistake of packing my whole backpack and then trying to squeeze in a full water bladder. Not gonna happen! Be sure to do this early in the process. This can give you a more accurate sense of the available volume in your bag.
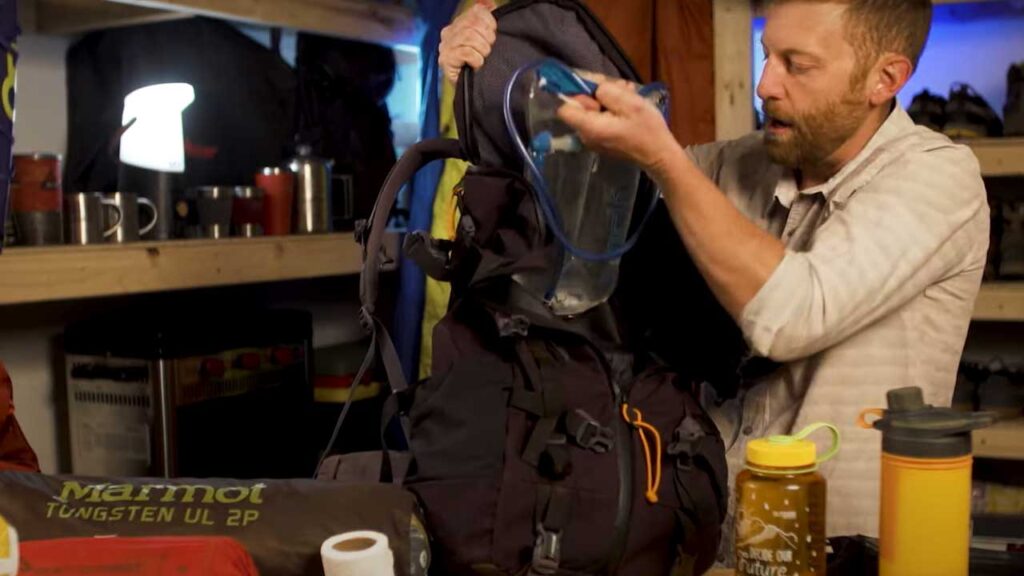
Most trekking bags should have a pouch or sleeve that will store the bladder against your back and often with a little opening to feed the hose through. This ensures that the water is accessible. The integrated design keeps the significant weight of water (weighs 2.2 pounds/liter) close to your body.
Don't pack heavy items high in the bag. Avoid putting heavy items on the outside edge, or in some kind of external pouch of your backpack. This will create a counteractive lever. Improper weight distribution can make the whole load feel more cumbersome.
How do you pack food in a backpack?
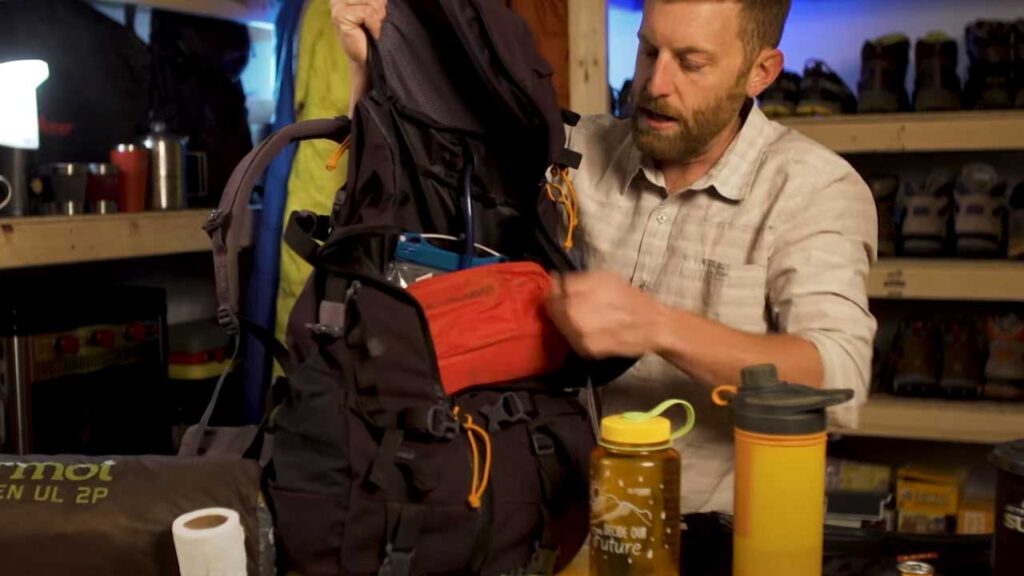
One of the things I like to do is take a lightweight stuff sack (purchased separately or even just repurposed from an old sleeping bag) and use it to keep my food and utensils organized.
For a standard 2-3 day trip I'll bring a few dehydrated meals, a jar of peanut butter (a must!), some spare bars and what not (but keep the snacks for the day in an exterior pocket), instant coffee packs, and other little things along that line.
Once the stuff sack is, well…stuffed, I'll then position it as low in the bag as I can (still on top of my sleep system base), and also as close to my back (so usually right up against the water bladder). Some people will prefer to spread their food out, sliding the packages into whatever little nooks and crannies are available in their pack. That's also perfectly fine; I just prefer to keep everything organized.
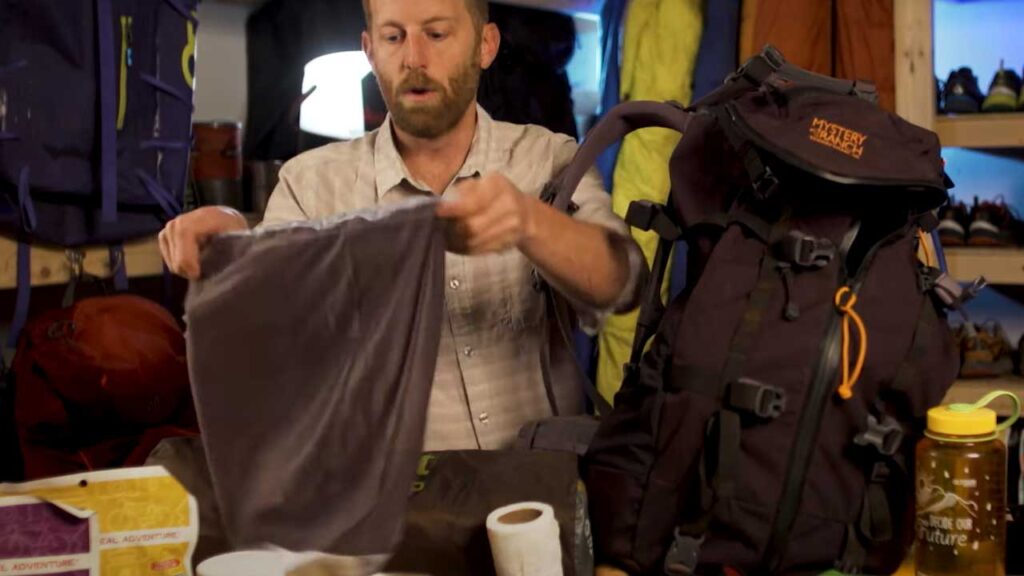
What is the best way to pack clothes in a backpack?
After packing the bulky or heavy stuff first like your sleep system, hydration bladder, cookware, and food, then start cramming in your spare clothes for the trek. The strategy of packing bulky items low in the bag is good to follow. I'll do my best to stuff mid-layers down into the bottom crevasses and save the spare undies for up top.
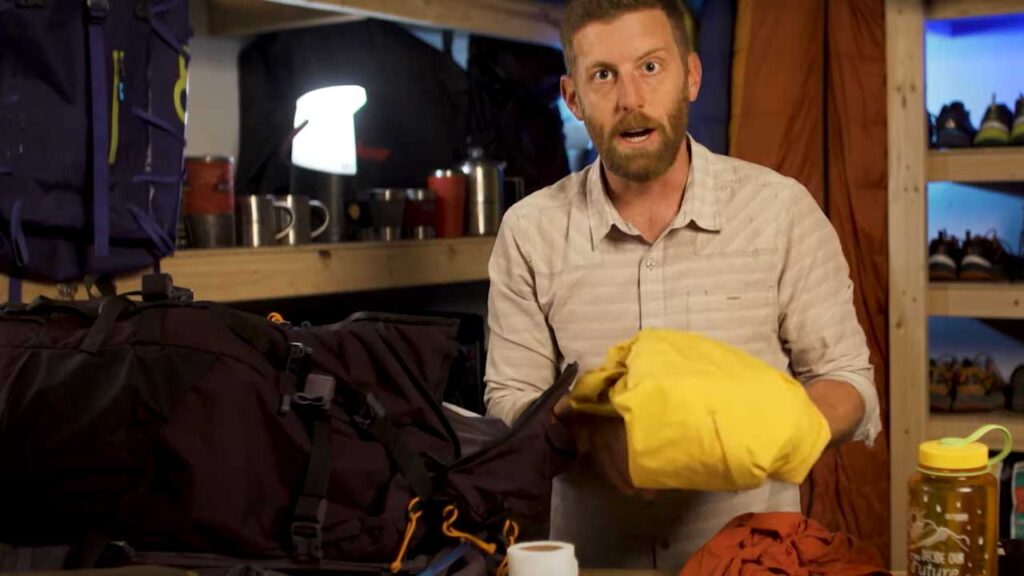
I keep my rainwear, a beanie, and some gloves separate. This is so that I can quickly grab them if the weather shifts. This is where I'll utilize an external mesh pocket, the top-loader, or something of that sort.
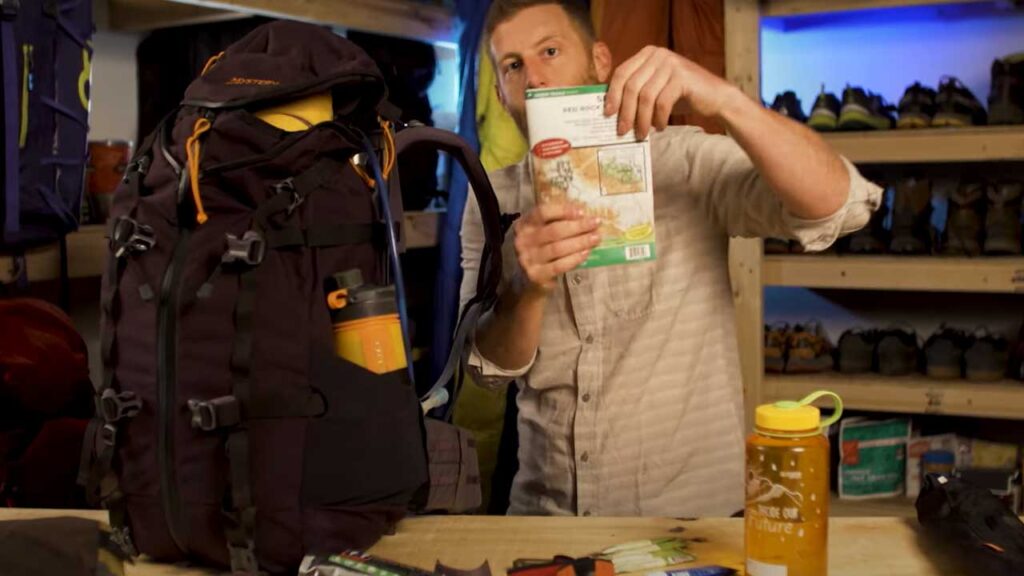
What items should the top part of the backpack contain?
The top compartment of your trekking bag is great for all those lightweight or miscellaneous items. Gear or items that you might need throughout the day or are easy to misplace should go in the top compartment. Things like a map, sunscreen, chapstick, headlamp, pocketknife, lighter, and trail snacks all work well up top.
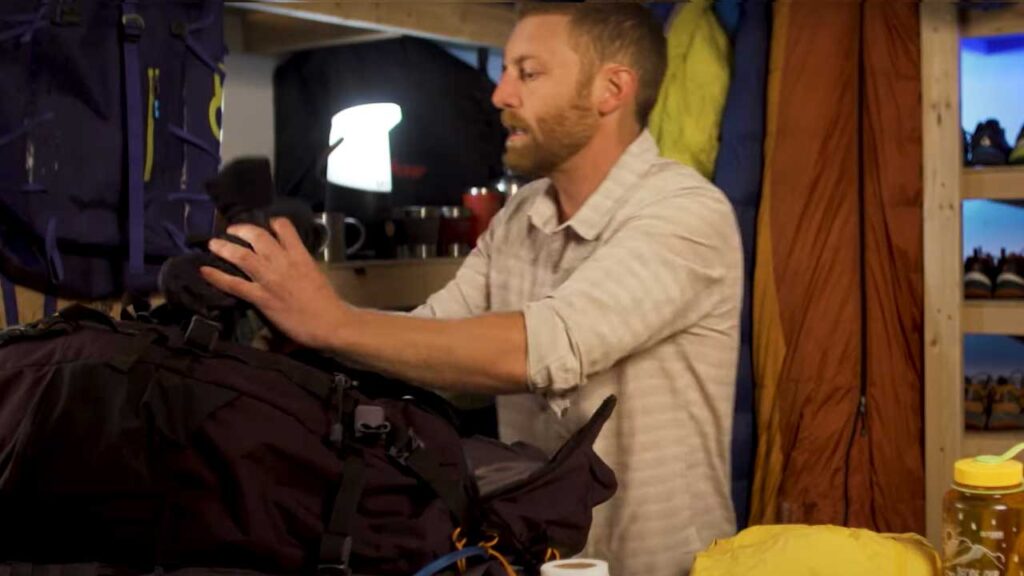
What gear goes on the outside of the backpack?
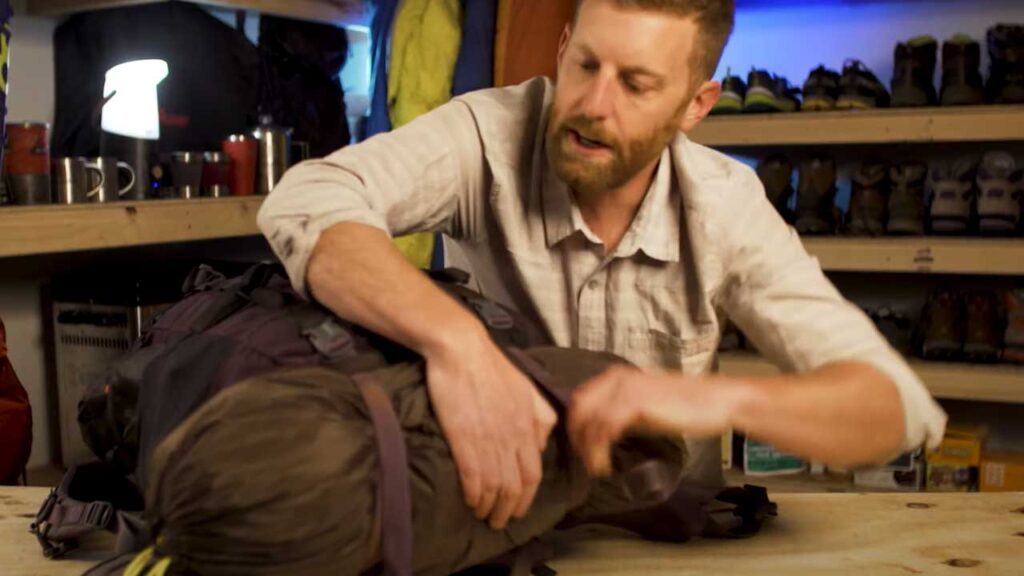
It is sometimes possible to pack a tent inside a backpack, but I like to attach it to the outside. The Mystery Ranch Terraframe 50L pack has straps on the bottom that can be used to secure a tent. This once again keeps a heavier item low in the bag, which is most efficient for trekking.
Backpacking packing list review

When all is said and done, your backpack will ideally be packed nice and tight, with a clean exterior. One mistake I see a lot of trekkers make is attaching extra items to the outside of their bag. This leads to things swinging and clanging all about, which is not only detrimental for hiking, but kind of annoying for your fellow hikers.

Gear used in this video includes:
Backpack: Mystery Ranch Terraframe 50L backpack
Sleeping bag: Sea to Summit sleeping bag
Mattress: Sea to Summit sleeping mattress
Water filter bottle: GRAYL water filter
Kitchen: Jetboil stove
Water filter system: MSR dromedary
Water storage: Platypus hydration bladder
Headlamp: Coast headlamp
These are all just guidelines to help you sort through the inevitable mess of gear. Every backpack and every backpacker is a little different, and so a bit of trial and error will be required to find your best approach. If you liked this article then be sure to sign up for the In4Adventure.com newsletter, and subscribe to BackpackingTV for lots of other great tips, gear reviews, and outdoor adventures.


