For the last decade or so, one of the fastest-growing categories within paddle sports has been kayak fishing. This trend has pushed developments in both kayaks and accessories that have benefited paddlers from all walks (or paddles) of life.
For example, one of the coolest by-products that has emerged is the ability to customize your kayak with fancy gadgets. Lots of these are applicable to anglers, but plenty also apply to recreational kayakers. So today I'm going to talk about how to outfit your boat with a range of neat accessories.
What accessories should I buy for my kayak?
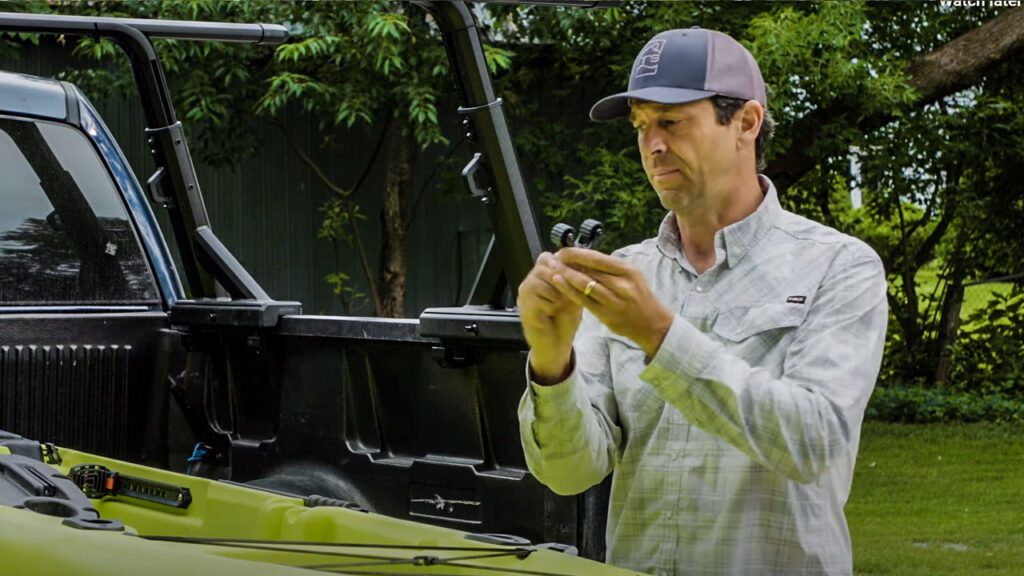
In terms of dependable accessory brands, RAM and Scotty were the first on the scene, and both continue to knock it out of the park. And then more recently, YakAttack and RAILBLAZA have been coming out with a lot of great stuff – pushing everyone to constantly up their game. Let's run through a bunch of specific add-ons that might apply to your paddling adventures:
- YakAttack VISICarbon Pro Safety Flag/LED light. This is a great piece of safety gear and is particularly useful if you're paddling in low light, areas with some brush cover, or if you see power boats rushing around.
- Rod holders
- Paddle holders (ex. YakAttack RotoGrip)
- Lanyards – for attaching anything that you'd like to have readily accessible but don't want to accidentally donate to the deep blue abyss.
- Cup holders
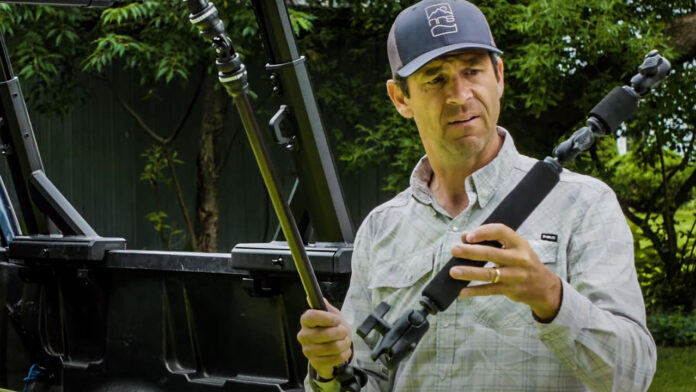
- Any variety of camera mounts (ex. RAILBLAZA's Camera Boom 600 R-Lock)
- Cell phone mount (ex RAM's X-Grip)
And the list goes on! Do yourself a favor and click through some of the brand links above to get a feel for the wide world of accessories.
What are the rails for on a kayak?
A lot of kayaks these days, especially sit-on-tops that are specifically designed for anglers, come with some tracks installed. These are designed for attaching accessories of all kinds (not just for fishing). But this doesn't mean that they're always in the right places.
As you spend more time on the water, you'll start to get a feel for what you want, and where you want it. So whether you're starting on a blank canvas, or building on an existing framework, there are a few different mounting systems to look at.
Tracks are Popular
Tracks are definitely the most popular choice. They come in various lengths that can be mounted on flat surfaces across your boat. Take stock of what's available to you. There is also a ball-mount, which RAM originally came out with.
This provides unlimited range of motion for anything that has a matching attachment (such as the X-Grip Phone Mount). And finally, there are post-mounts, which like the ball-mount, can be secured just about anywhere.
How do you mount rails on a kayak?
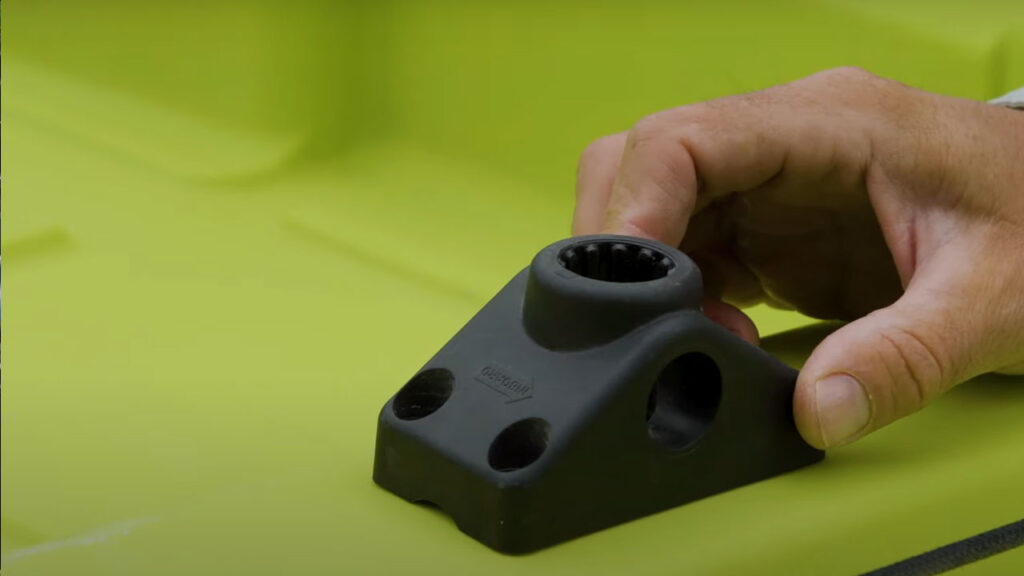
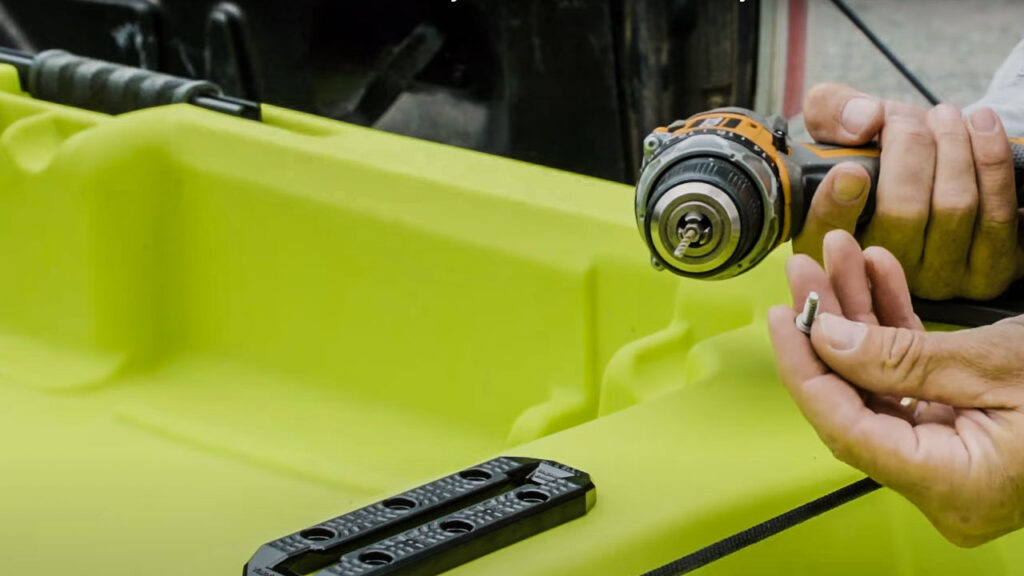
There are two options when attaching rails or other accessories mounts: you can bolt them to the kayak, or screw into the kayak. Bolting is the more secure of the two options, but in order to do that, you have to be able to access the underside of the kayak (which isn't going to happen with a sit-on-top). So this will be a much more limited approach than simply screwing into the shell.
Drill a Small Pilot Hole
When it comes to screwing, first you'll want to drill a pilot hole. Make sure that it is smaller than the screw, so that there is still something for it to bite into. Once the first anchor is in place, work in a star pattern (like when changing a tire) to put the rest in. If you want a step-by-step visual aid, click here for my PaddlingTV video.
Is it OK to drill holes in a kayak?
There is no doubt that drilling holes in your kayak is a little daunting at first. But this is how you'll be able to screw in accessory mounts. Just take your time, don't try to drill all the holes at once (or you'll inevitably run into an alignment issue), and don't over tighten the screws. Once the gear mount is in place, you won't have to worry about water getting into those newly made perforations.
Now that you know how to mount accessories to your kayak, you may want to channel your inner Ken Whiting and start filming your paddling trips. If you're curious about getting some fun action shots, check out my step by step guide to help get you going. And as always, subscribe to the newsletter to get the latest tips and techniques.


